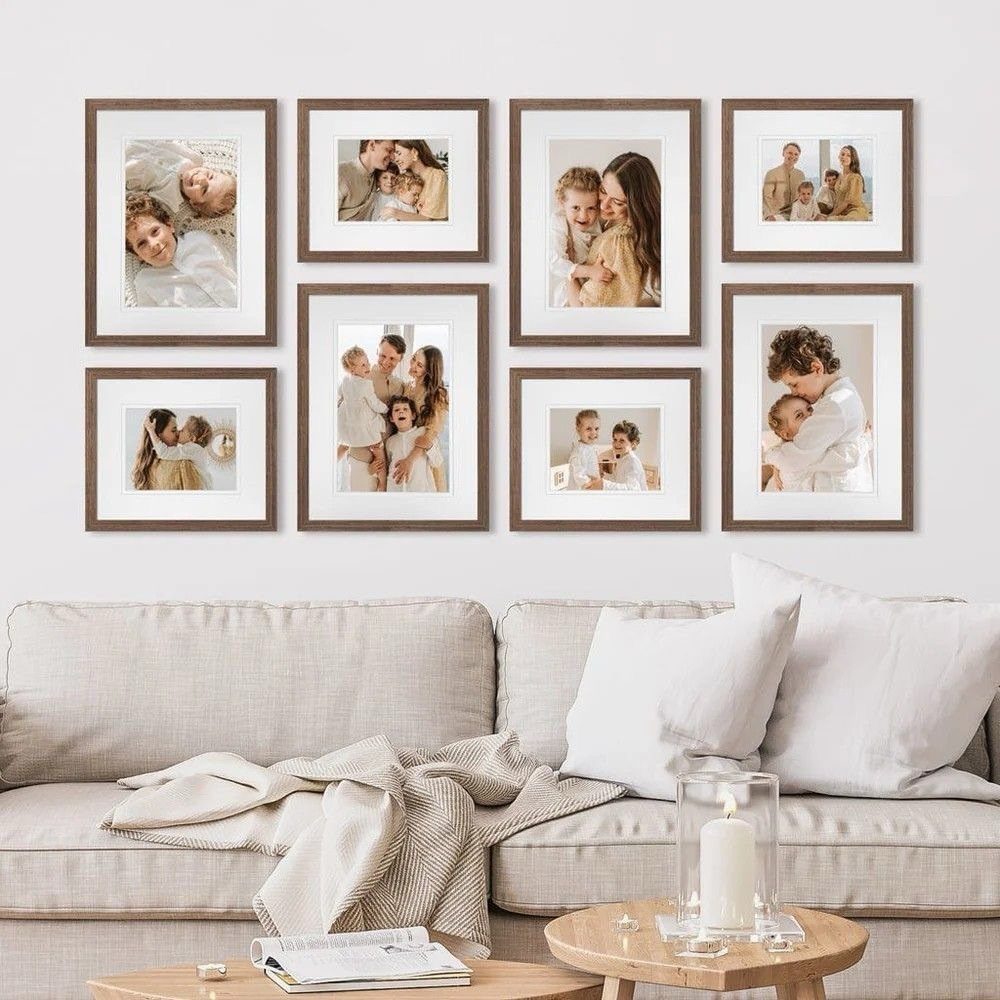
A wall of family photos can range from a tight grid of matching frames you hang in an afternoon to a sprawling staircase gallery that layers sizes and finishes over time.
The space you’re filling decides the approach: narrow spaces suit photo ledges or linear arrangements that keep the display shallow, while open walls above a bed or sofa give you room for asymmetrical clusters or statement pieces like a backlit tree mount.
Black frames unify the most varied collections, whether you’re working with portraits shot years apart or mixing family photos with art prints on an eclectic gallery wall.
1. Black and White Photos with Matching Frames
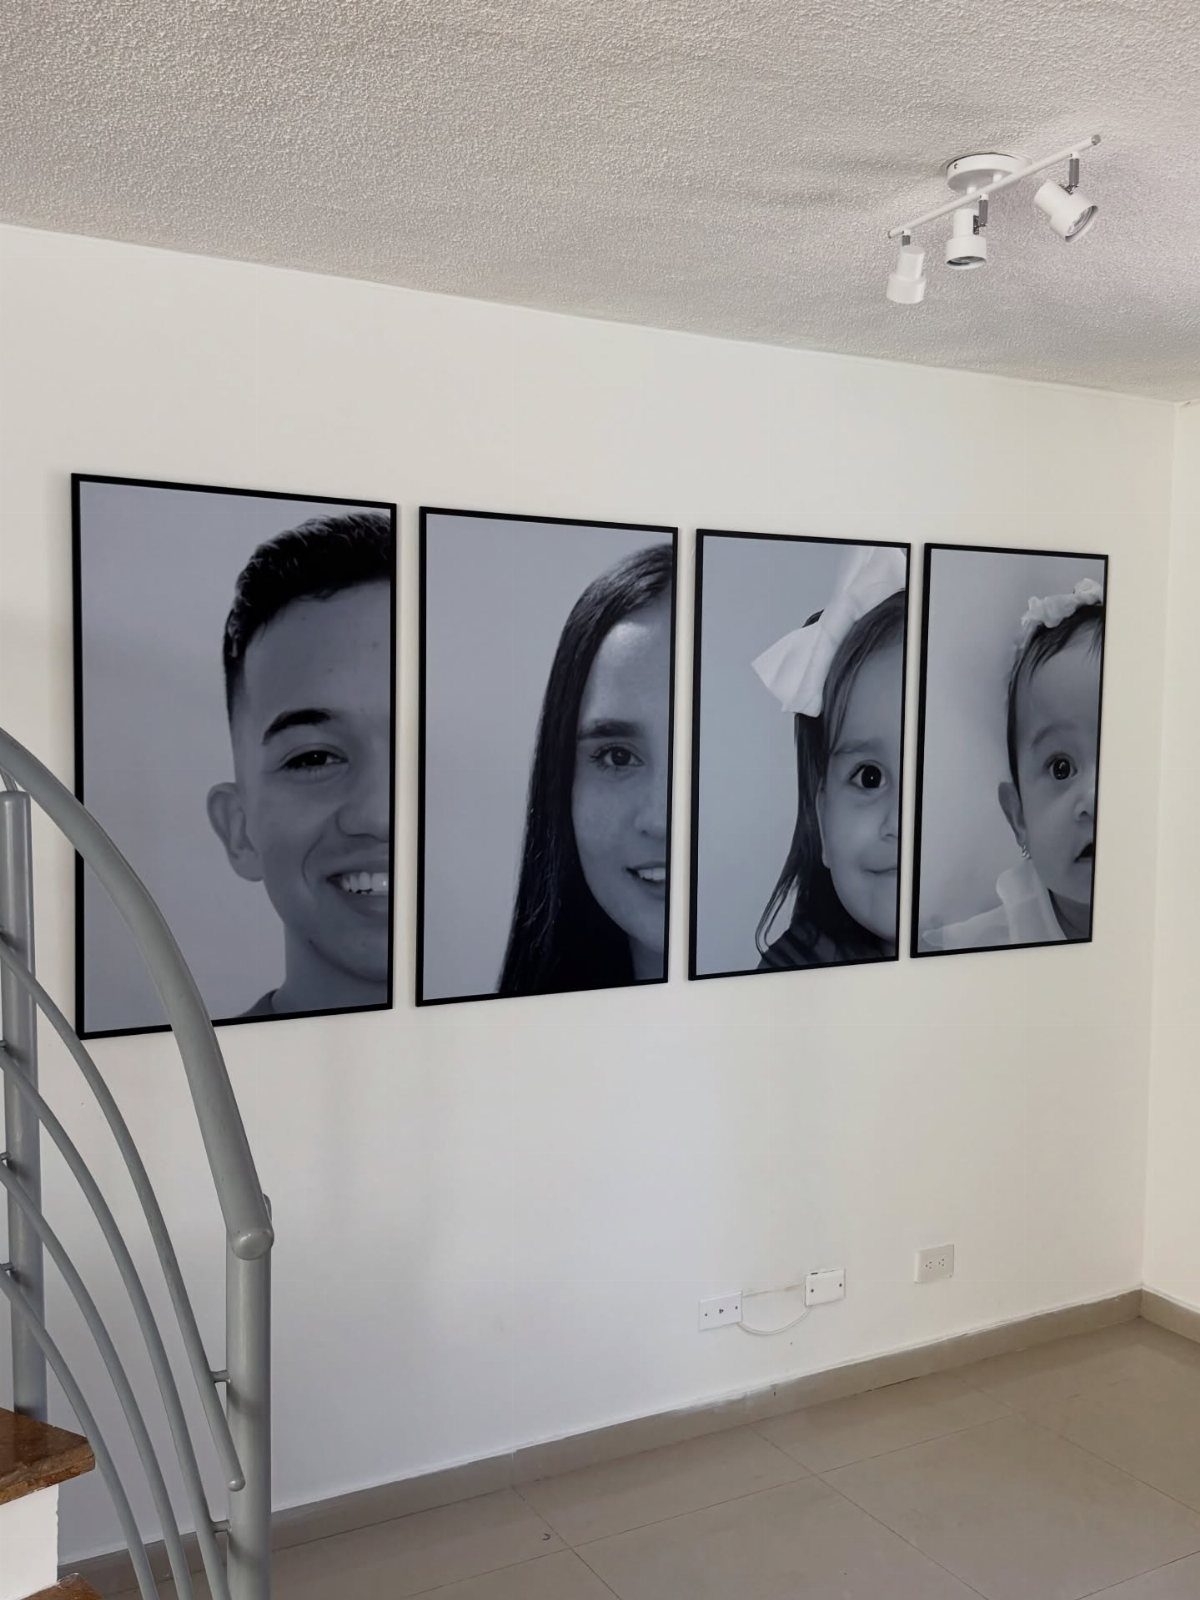
Matching black frames around black and white portraits pull together a clean, unified look that lets the faces stand out.
The monochrome treatment strips away color distractions and gives any collection of family photos an instant cohesive feel, even when the original shots were taken years apart in different settings.
Pick frames in the same size and finish, then convert your photos to black and white before printing.
Most photo printing services and even phone apps offer this option. The result reads formal without feeling stiff, and it works in any room where you want the focus on the people, not the frames.
2. Heart-shaped Collage
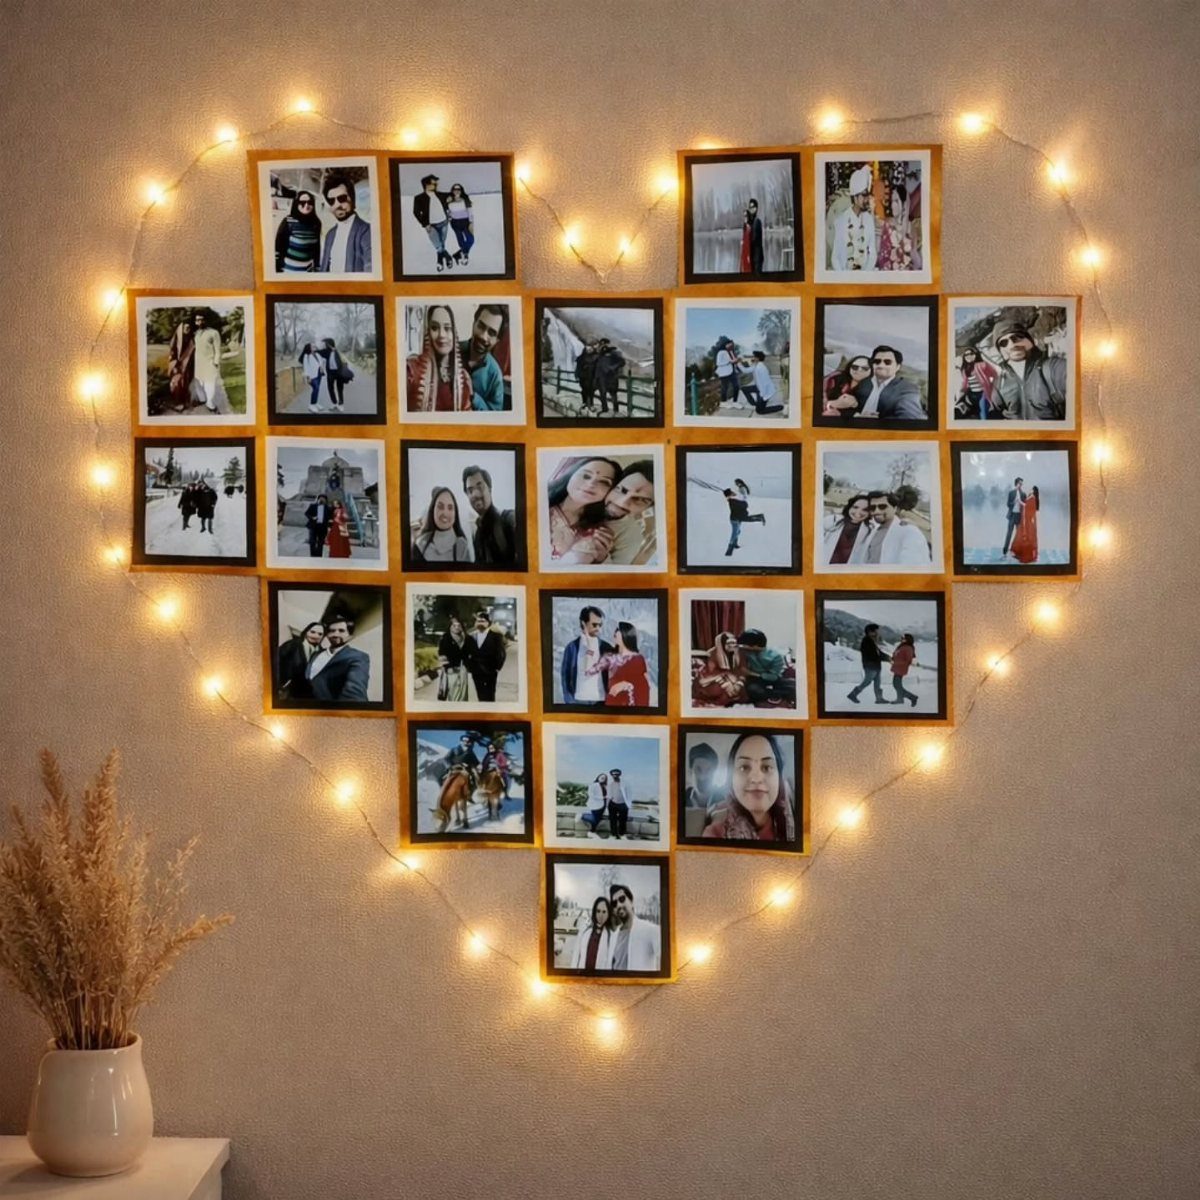
A heart outline made from clustered photos turns a standard gallery wall into something more personal. The shape itself signals what the collection is about before anyone looks closely at the individual images.
String lights around the perimeter add a soft glow that makes the display feel intentional, especially in a hallway or bedroom corner that doesn’t get much natural light.
Use removable adhesive strips to position the prints first, adjusting until the heart shape reads clearly from a few feet back.
Then drape battery-powered fairy lights along the outline, securing them with small hooks or clips. The whole setup takes an afternoon and gives you a display that feels thoughtful without requiring custom framing or professional spacing.
3. Grid Display
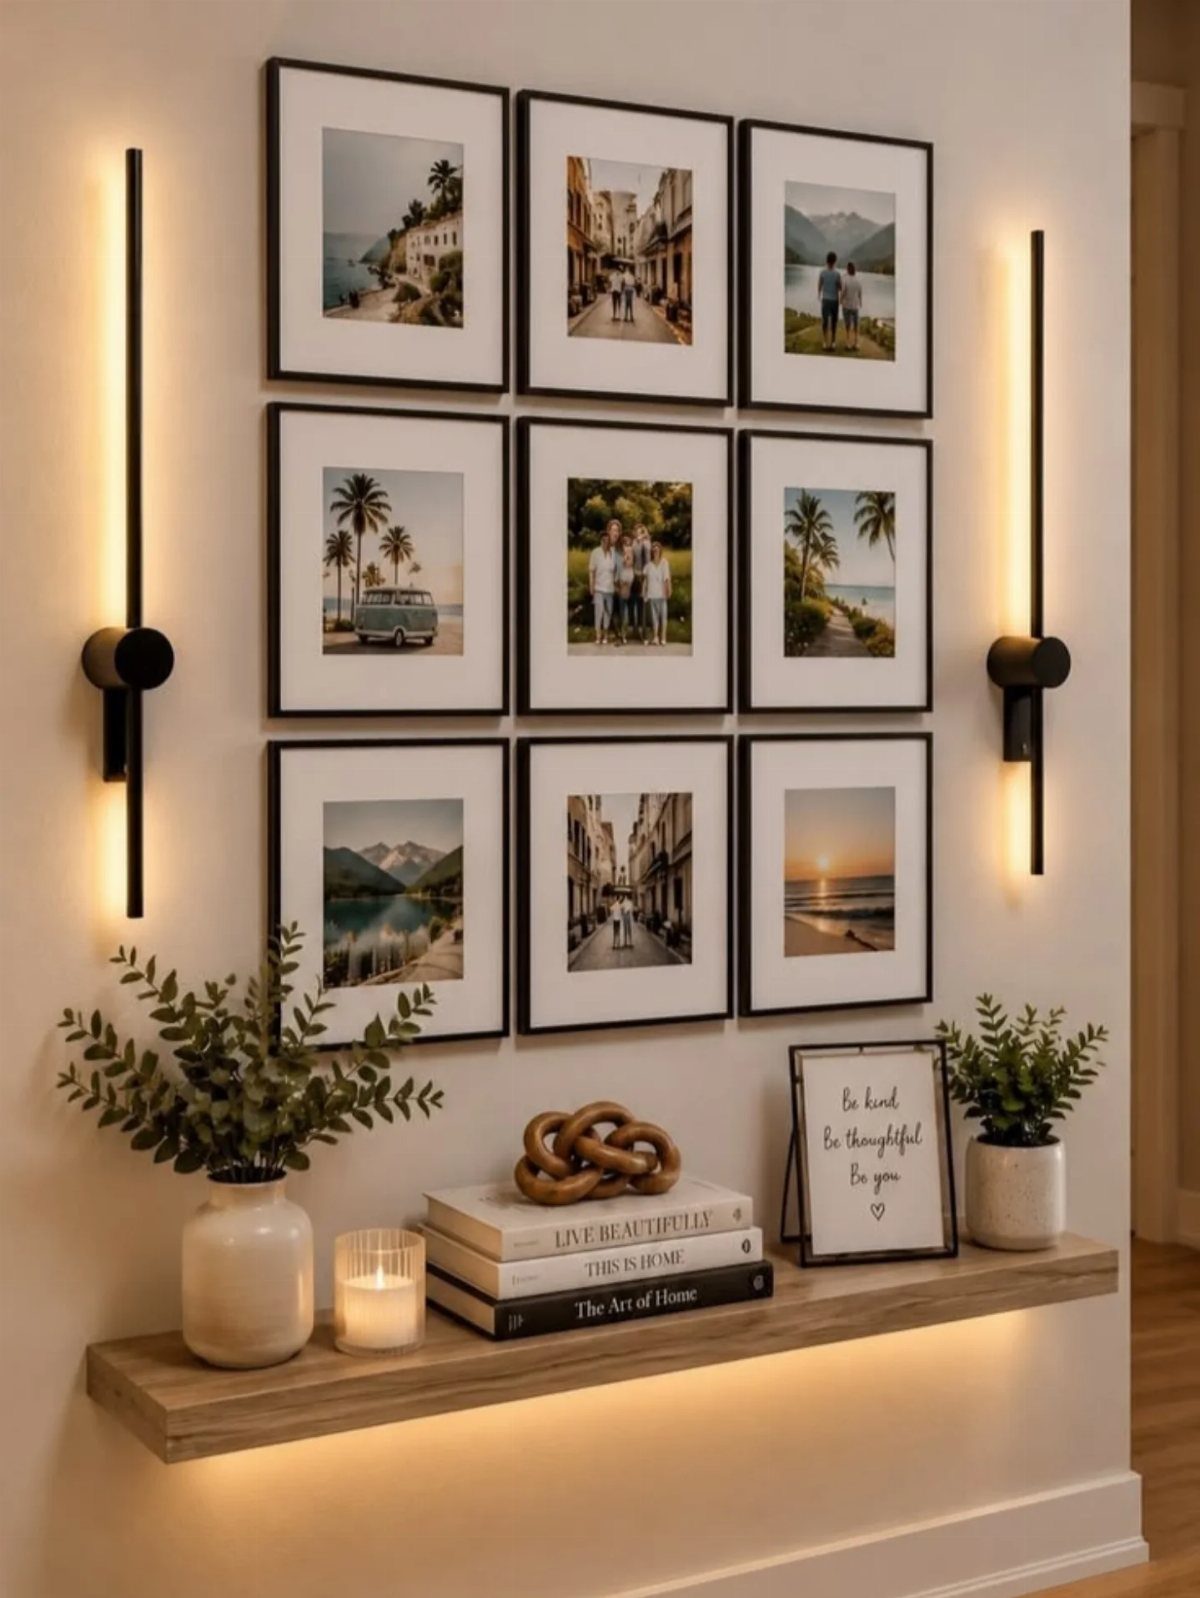
A grid of identical frames gives you the structure of a gallery wall without the guesswork.
9 frames in a 3×3 arrangement sit level and evenly spaced, so there’s no need to map out asymmetrical clusters or second-guess whether the layout balances.
Black frames on white walls keep the focus on the photos themselves.
Measure and mark your grid with painter’s tape before hammering anything in; the spacing between frames is up to you, and it changes how much breathing room the whole thing has.
The symmetry makes this one of the faster displays to hang, and it works equally well with portraits, landscapes, or a mix of both.
4. A Staircase Gallery Wall
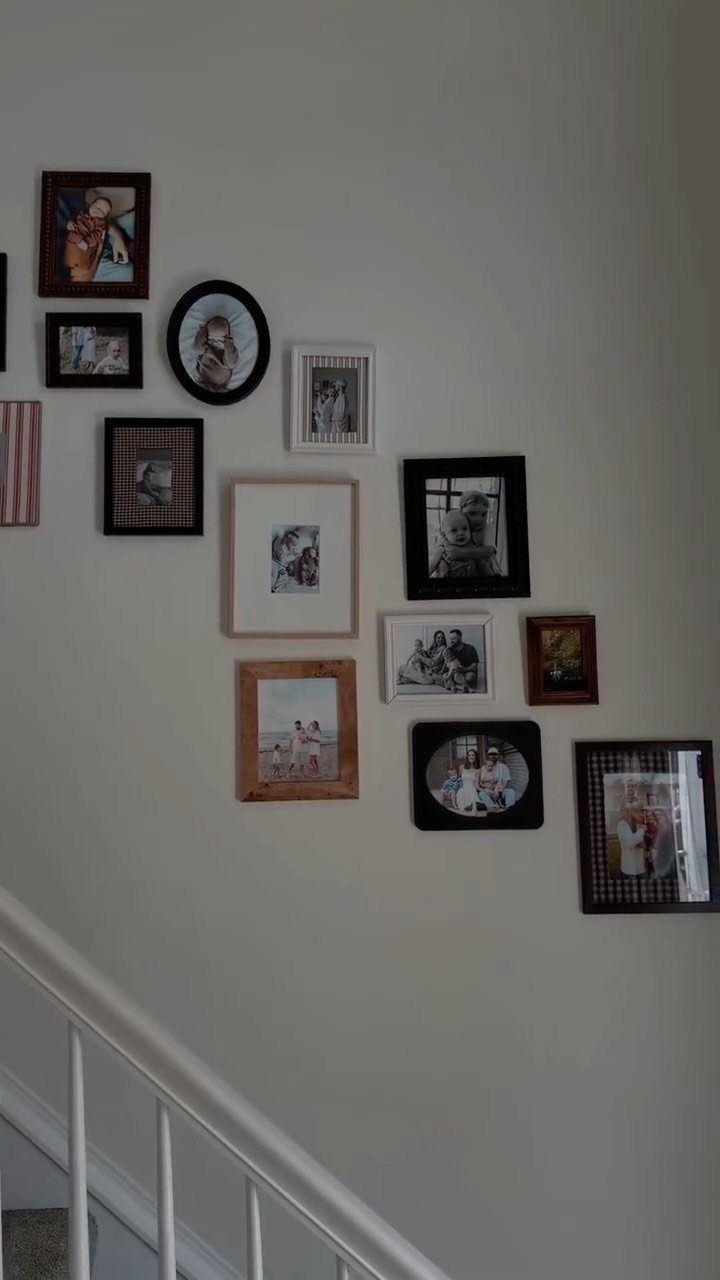
Staircase walls give you vertical real estate that often sits empty, and a gallery of family photos makes good use of it.
The frames can follow the angle of the stairs or float in a more organic arrangement; either way, the eye travels up with you as you climb.
Mixing frame sizes and finishes here feels natural because the staircase itself adds structure.
Start by laying out your frames on the floor in roughly the same shape as your wall, then transfer them one by one, keeping the spacing loose and uneven.
Space the frames however close or far looks right to you; your eye matters more than any fixed measurement. The result is a lived-in gallery that changes as you move through the space.
5. Farmhouse Gallery Wall
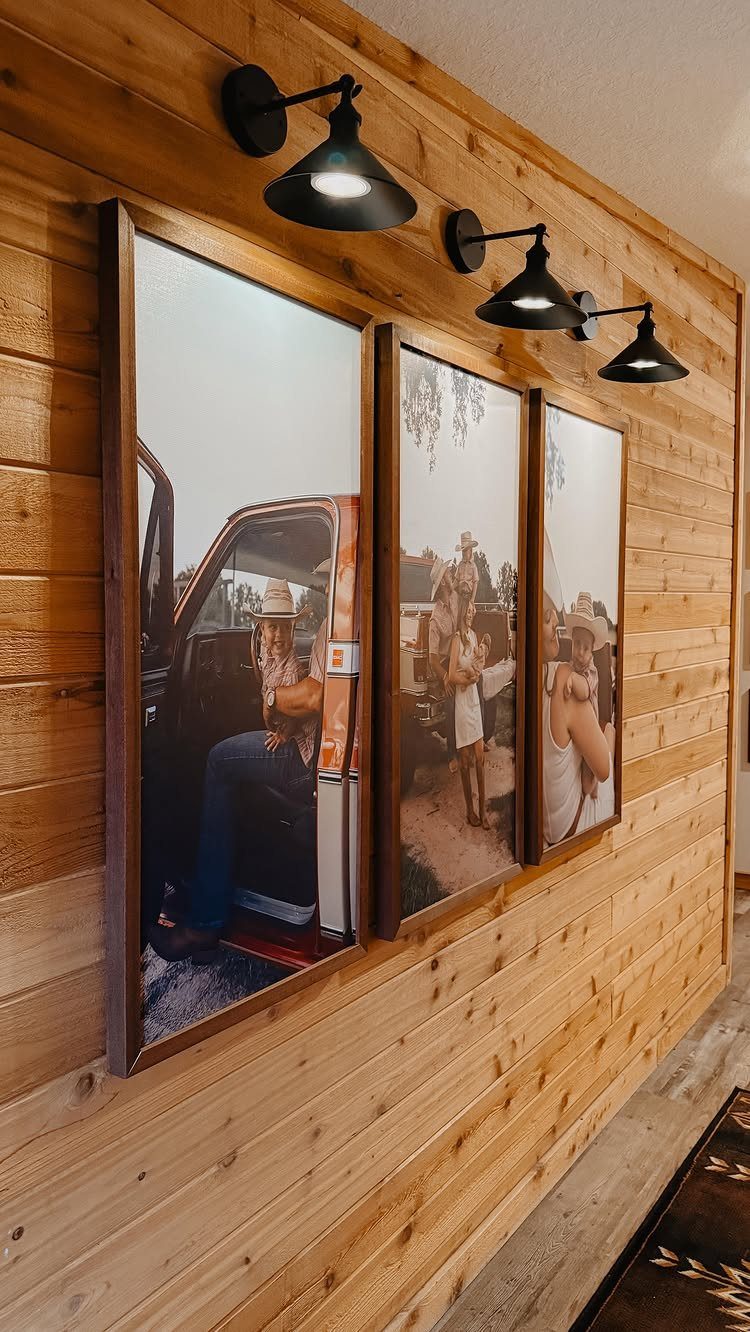
Wood-paneled walls and black sconces frame large family portraits in a way that feels grounded and warm.
The farmhouse look here comes from the scale of the frames and the simplicity of the arrangement: 3 big prints, evenly spaced, with just enough light to make them the focal point.
Choose frames wide enough to give the photos weight, then hang them at eye level with matching sconces centered above or beside each one.
The light draws attention without competing with the images, and the wood paneling adds texture that plain drywall wouldn’t.
This approach works best when you have a few standout portraits you want to feature, rather than a large collection you’re trying to organize.
6. Colorful and Quirky Gallery
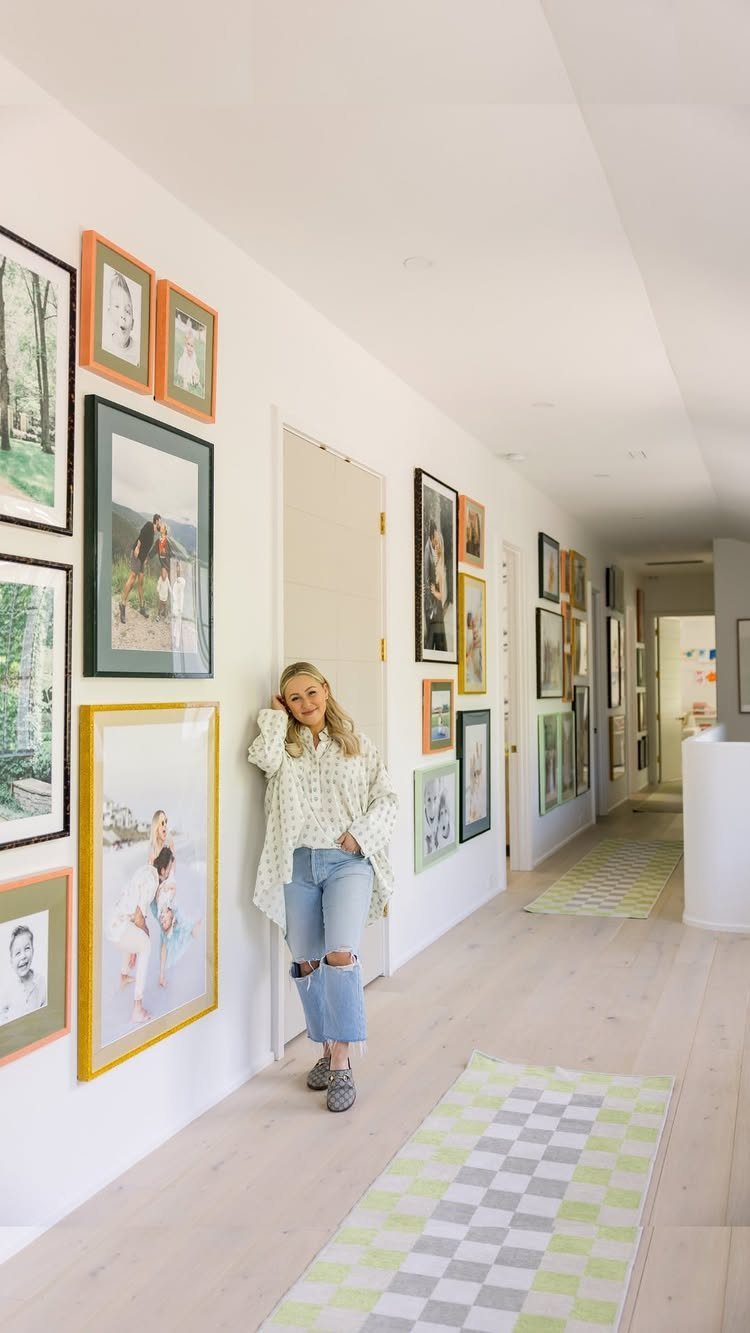
Bright frames in different colors turn a family photo wall into a more playful, personal display. The mix of frame finishes and the loose arrangement signal that this gallery grew over time, not in one trip to the frame shop.
Pick frames in colors that either match your room or contrast with it, then hang them without worrying too much about perfect alignment.
The personality here comes from the variety, so mixing in a few small art prints or quirky pieces alongside the family photos keeps the wall from feeling too uniform.
This works well in a hallway or kid’s room where a more formal gallery would feel out of place.
7. Photo Ledges
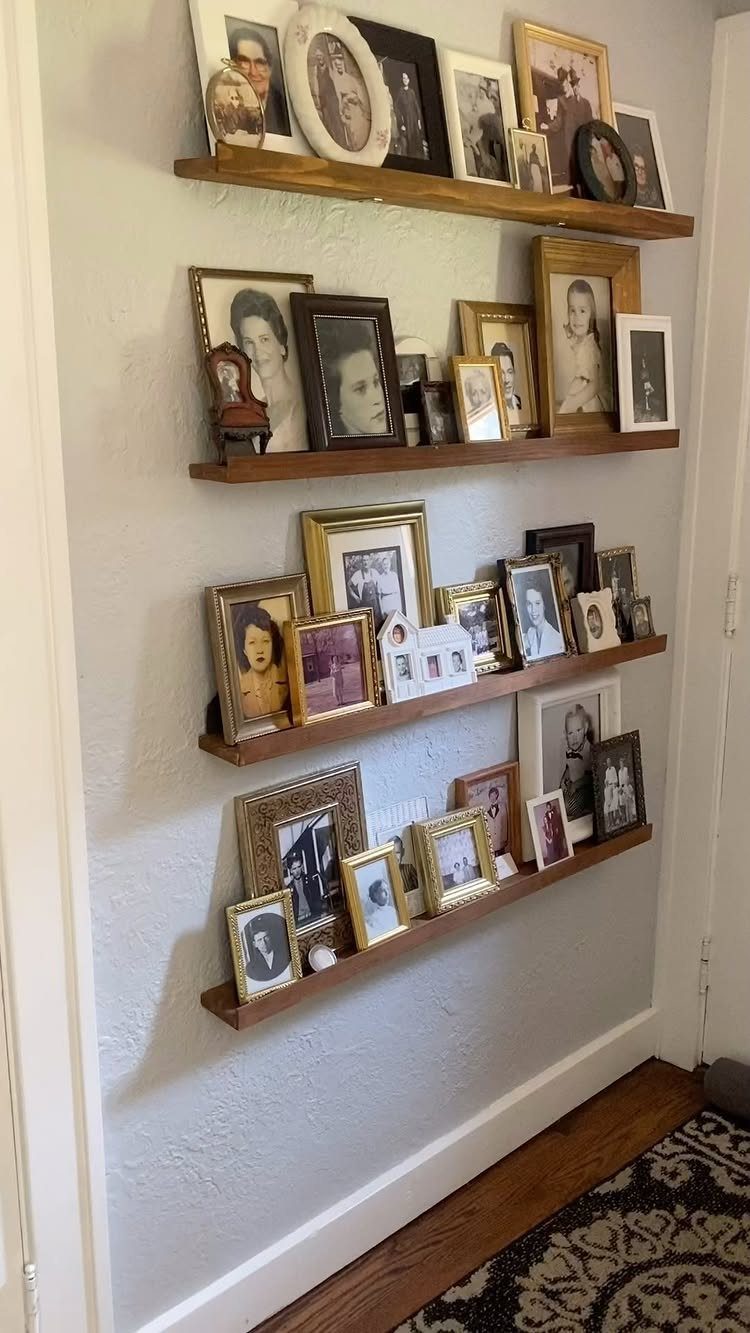
Wooden ledges let you swap photos in and out without touching a hammer.
The frames lean rather than hang, so you can pull one forward, slide a new one in behind it, or rearrange the whole lineup in a few minutes.
Mount the ledges at eye level and layer a mix of frame sizes, overlapping smaller prints in front of larger ones.
The depth of the ledge holds several frames deep, so you can rotate seasonal photos or recent prints to the front whenever you want a change.
8. Backlit Tree Wall Display
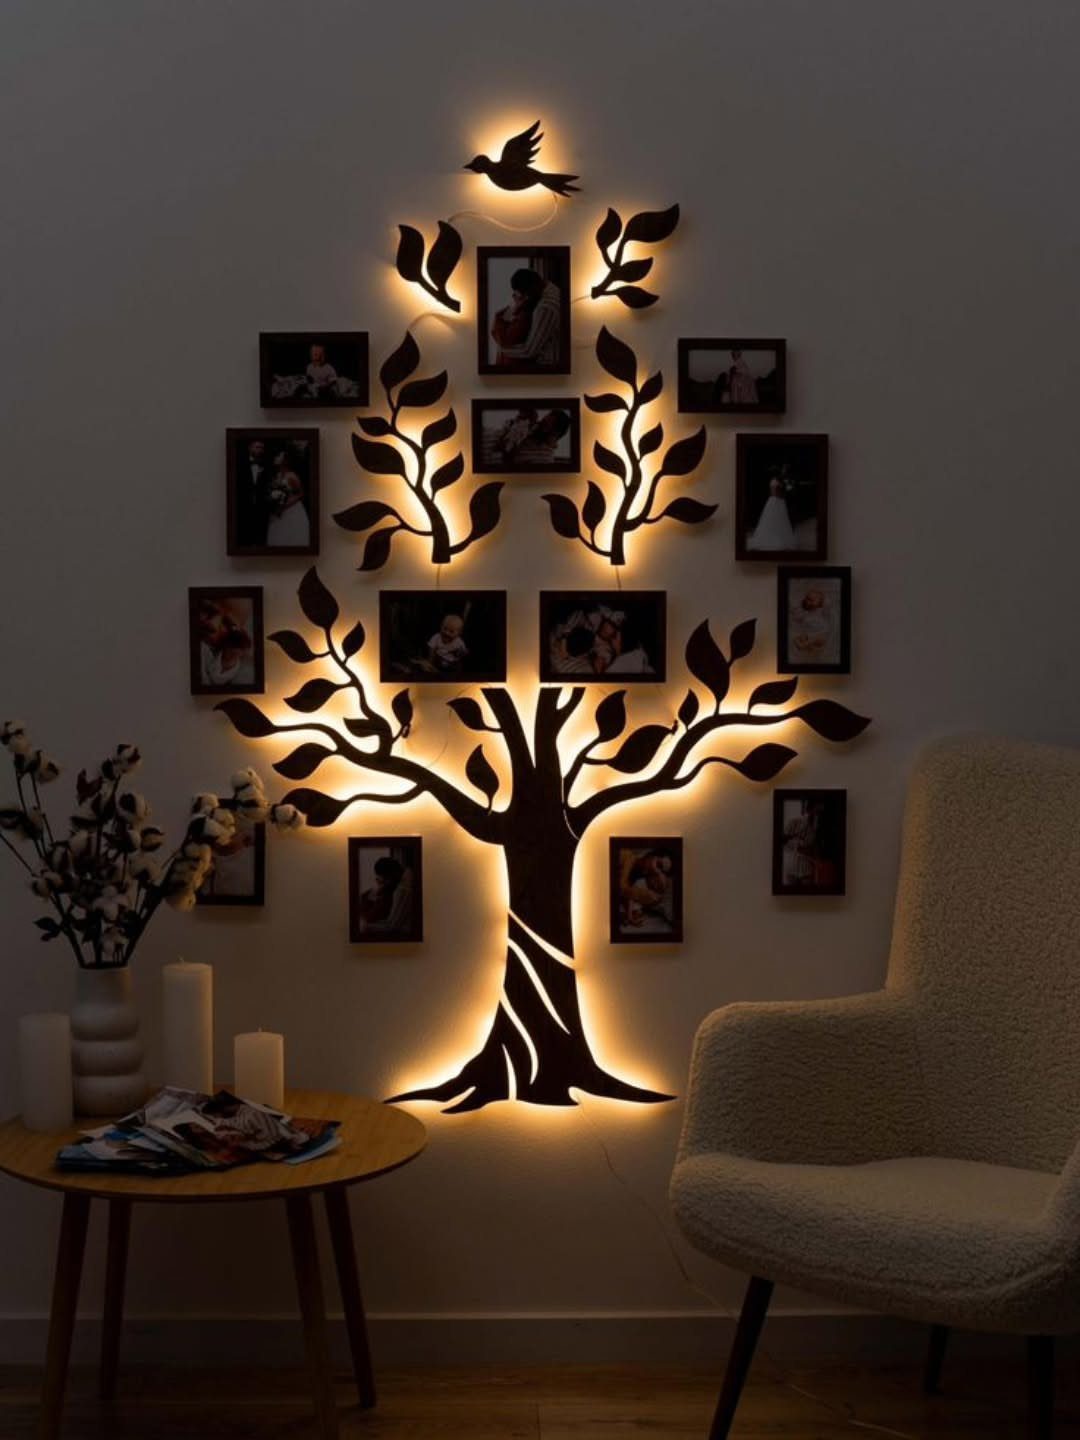
A tree-shaped wall mount with built-in backlighting adds dimension to family photos in a way flat frames can’t.
The glow around the edges pulls attention to the display, and the branching structure gives you natural spots to clip or slide small prints.
This works best in a room where you want a statement piece, not just a collection of frames.
The tree itself takes up wall space, so keep the photos small and limit the number you mount to avoid crowding the branches. Battery-powered LED strips make installation simpler if you don’t have an outlet nearby.
9. Vintage Gold Ornate Frames
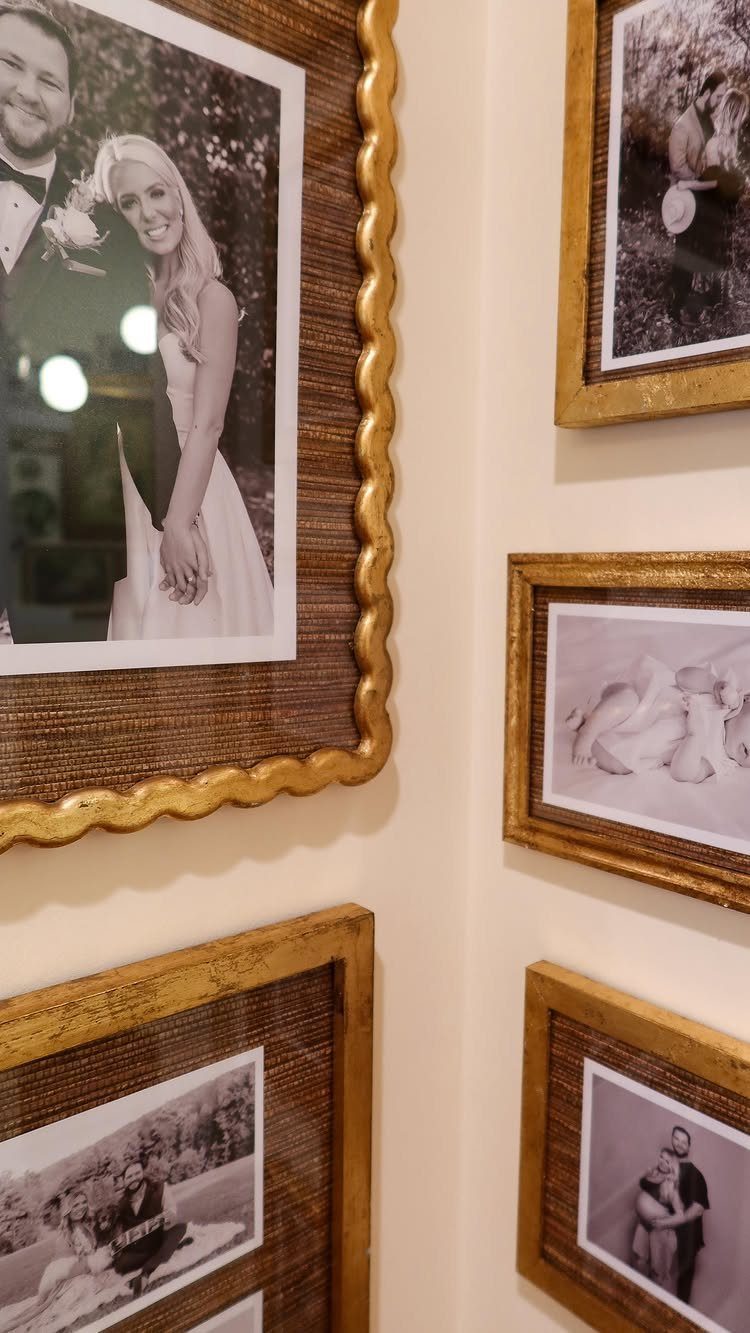
Ornate gold frames in varied sizes and patterns turn a collection of black and white portraits into something that feels passed down rather than bought in one go.
The contrast between the formal frames and the casual spacing gives the wall a collected look, as if each frame was added over time.
Hang the frames close enough that they read as a group, not isolated pieces.
The busy detailing on each frame means the wall itself can stay neutral. This approach suits a dining room or hallway where you want the display to feel finished and traditional without matching every element.
10. Modern Linear Family Portraits
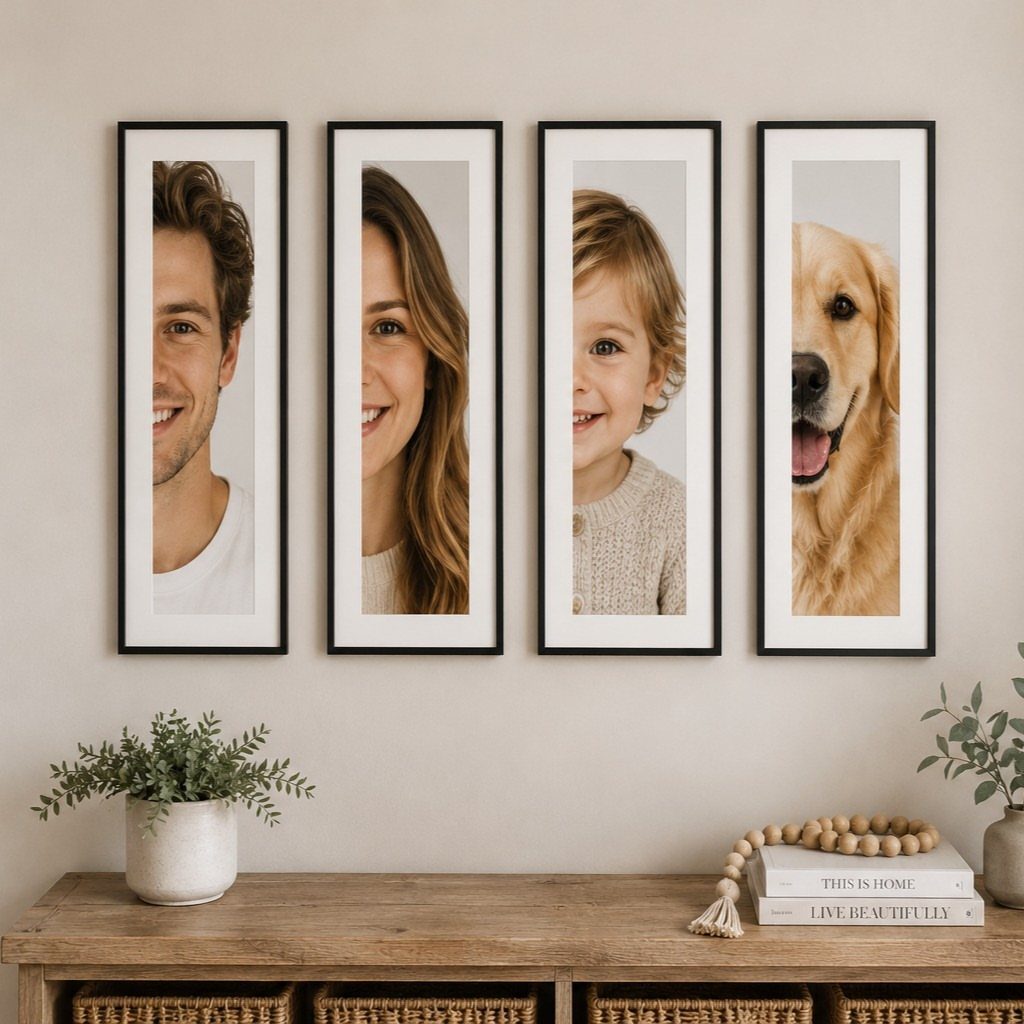
A single horizontal line of matching frames keeps the display clean and predictable, which works well when the portraits themselves are the focus.
The white mats around each image create breathing room, and the identical framing ties together photos that might otherwise feel mismatched in style or crop.
Hang the frames at the same height with equal spacing between them, using a level and measuring tape to keep the line straight.
This layout suits a wall above a console table or sofa where you want symmetry without filling the entire vertical space.
11. Eclectic Mixed Art Gallery
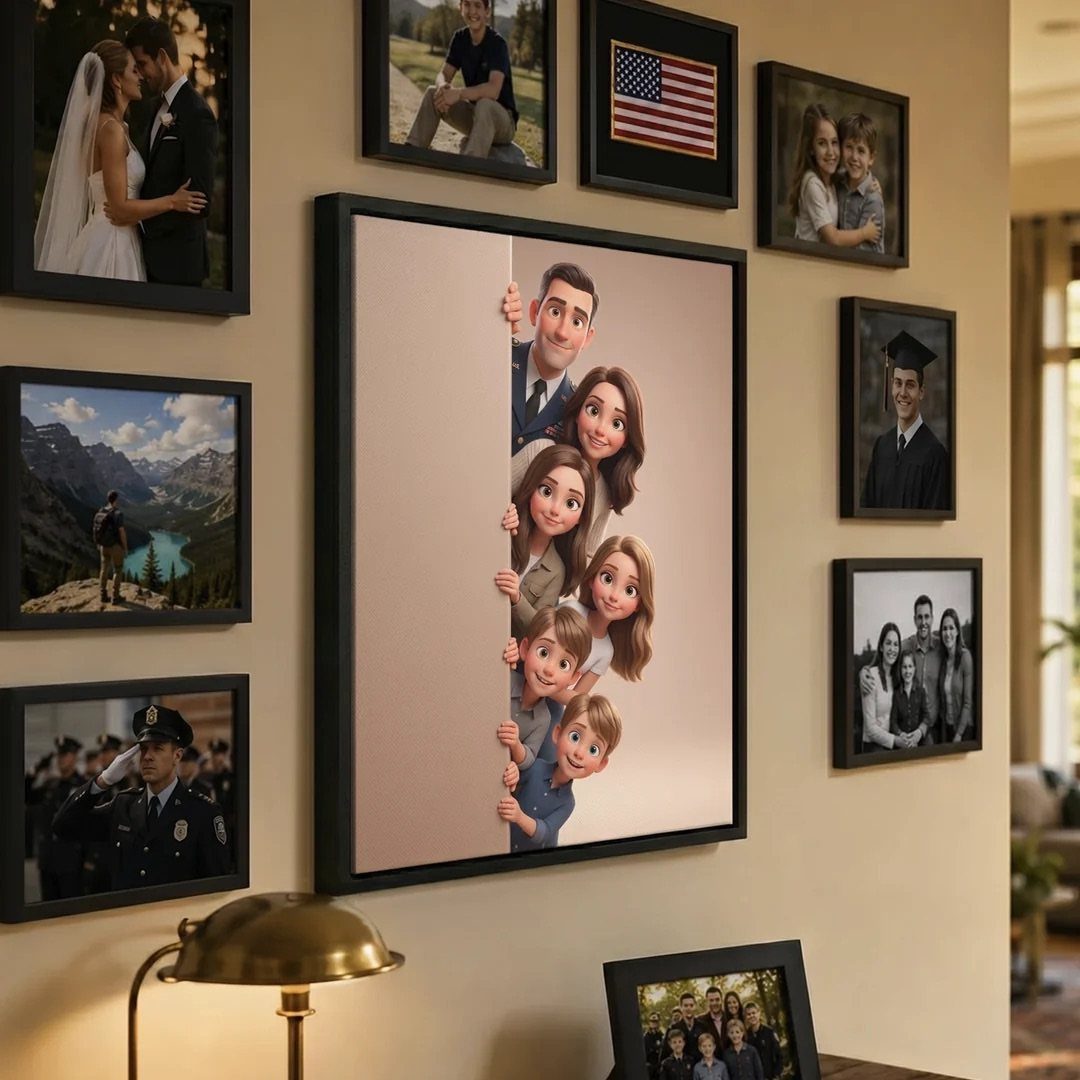
Mixing family photos with landscape prints and illustrated portraits breaks up the predictability of an all-photo wall.
The variety in subject matter and style makes the display feel less formal, and it gives you room to include pieces that aren’t strictly family snapshots.
Choose frames in neutral tones to tie the collection together, then hang the pieces in an asymmetrical arrangement that clusters without lining up.
This approach works when you have a few standout family photos but not enough to fill a whole wall on their own.
12. Over-the-Bed Light Wood Frames
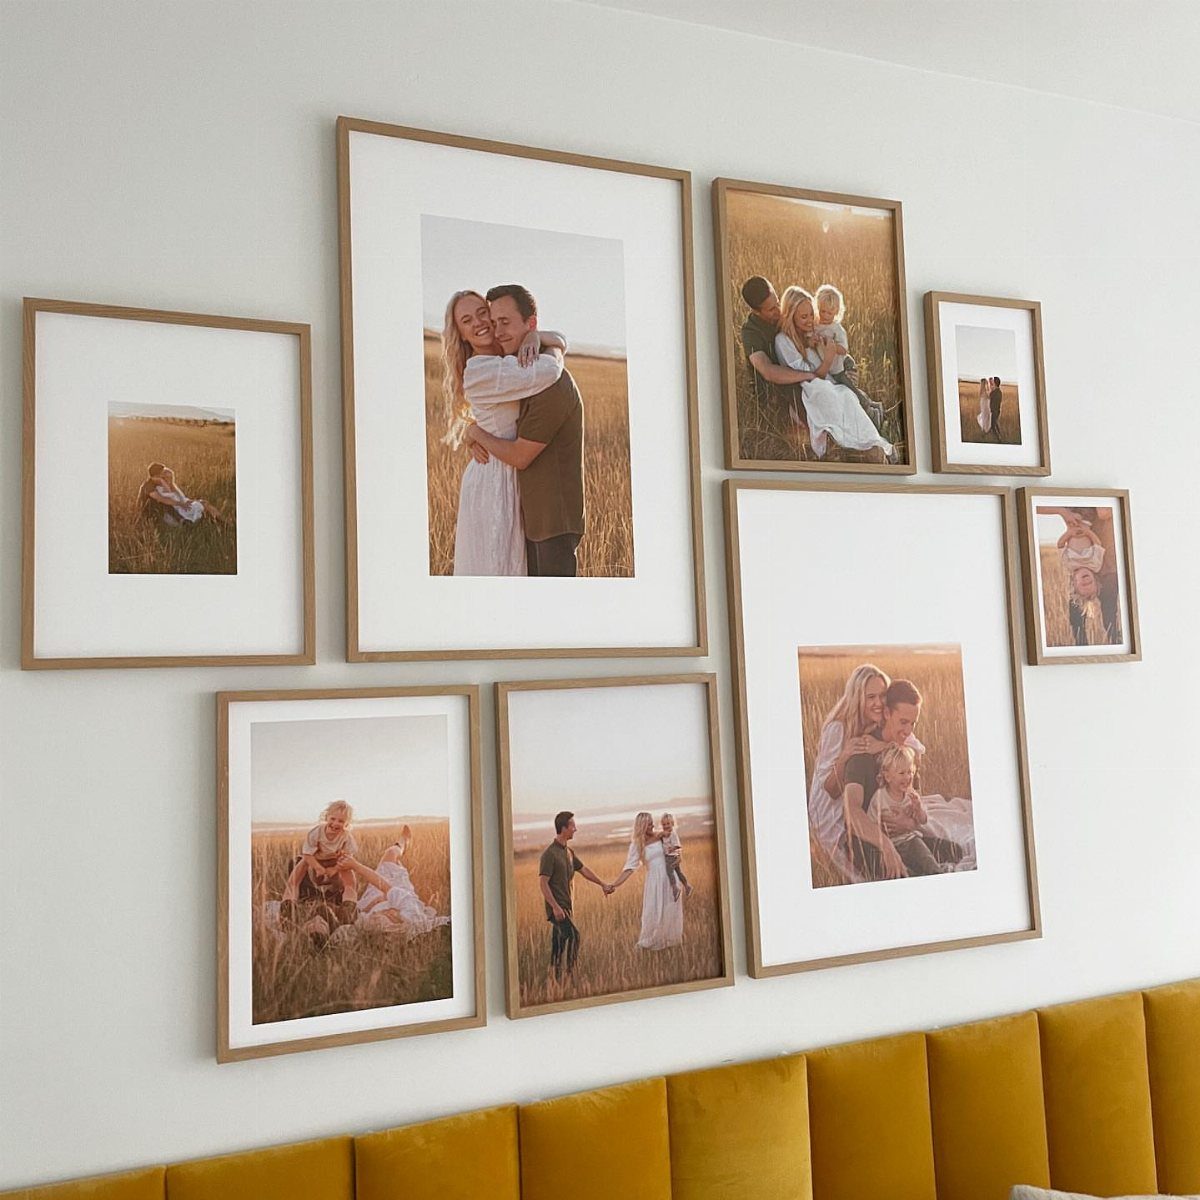
Clustered frames in a light wood finish soften the look of a gallery wall above a bed.
The warm tone of the frames keeps the display from feeling stark, and the grouping reads as intentional without needing to follow a grid or symmetrical layout.
Hang the frames in a loose arrangement that fills the space above the headboard without extending too far to either side. Keep the cluster tight enough that the frames relate to each other, with a few inches between each one.
13. Wall Decal Family Tree Display
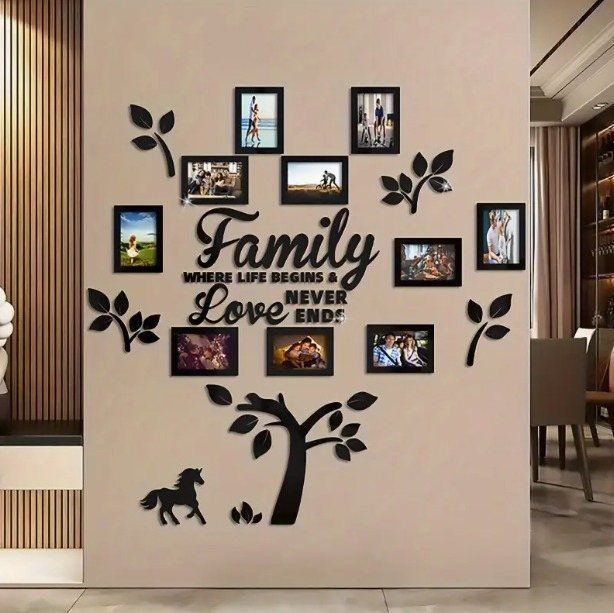
Wall decals in the shape of a tree or branch give you an outline to arrange framed photos around, without the commitment of paint or wallpaper.
The decal itself acts as the anchor, and the photos fill in the branches or cluster near the base.
Vinyl decals peel off cleanly when you’re ready for a change, so this works well in a rental or a room where you might want to rearrange later.
Position the decal first, then hang your frames around it, keeping a few inches of space between the decal and the nearest frame edge so the 2 elements stay distinct.
In addition to matching your family picture wall to your home decor, designing the best display requires some planning. Once you’ve selected your design, order framed prints or canvas prints to get your project well underway.
14. Mixed Frame Living Room Gallery
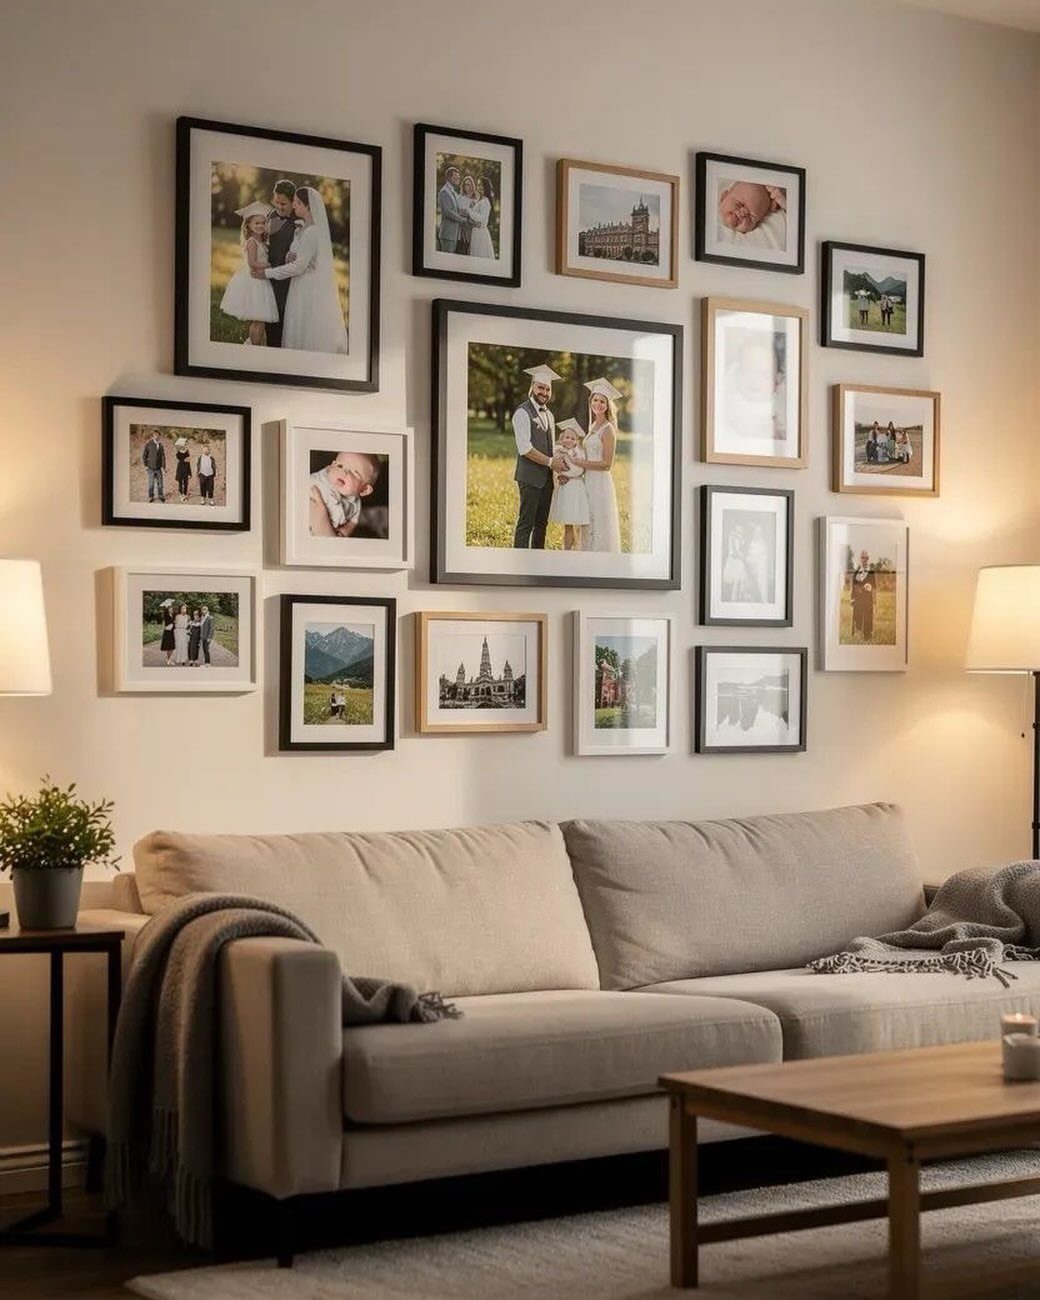
Mixing black, white, and wood frames in one gallery gives you flexibility without losing cohesion.
The variation in finishes keeps the wall from feeling too matched, but the frames still read as a group because the tones are neutral and the spacing is consistent.
Hang the frames in an asymmetrical cluster above a sofa or console, keeping the outer edges roughly level so the arrangement feels intentional.
This approach lets you add frames over time without needing to match every new one exactly to what’s already up.
Planning Your Layout
Arranging your frames on the floor or a large table first gives you room to shift things around, swap positions, and see whether the spacing feels right without committing to nail holes.
Once the arrangement looks balanced, take a photo of it so you have a reference when you start hanging.
Foam board works the same way if you want to build the layout vertically.
Trace each frame onto the board, cut out the shapes, and tape them to the wall. You can adjust until the spacing reads correctly, then mark your nail points through the board.
Measure from the center of your arrangement, not the top or bottom edge.
Choosing Frames
Frames that share a finish or material tie a display together even when the sizes vary.
One frame style carried across every photo gives you the most unified look. Wood frames in a few different finishes still feel like a set, and the same holds for brass or black frames even when the shapes vary.
Mixing styles works when you want something less formal, but the frames still need a shared thread.
That could be a similar tone, a repeated detail, or a consistent width. Without some connection, the wall reads as random rather than intentional.
Match your frame choice to the room’s existing finishes. Dark frames suit spaces with dark furniture or trim, while light wood keeps things softer in rooms with neutral palettes.
Creating a Cohesive Look
A theme pulls the display together when the photos themselves span different years or settings. Family portraits, vacation shots, or milestone events can all sit on the same wall as long as the subject matter stays consistent.
The palette holds the wall together when the individual pieces vary.
Color consistency in the photos themselves helps more than you’d expect.
Frequently Asked Questions
How do I create a gallery wall that I absolutely love?
Lay the frames out on the floor first and move them until the spacing looks right, then snap a picture on your phone before you start drilling. The display should feel personal, not perfect.
How do I arrange a gallery wall in the right order?
Lay everything out on the floor first and test different combinations before hanging anything, which lets you see the spacing and balance without committing to nail holes.
Keep the spacing consistent between frames and hang at eye level for the best visual impact.
How to design a wall with photos?
Pick a prominent location like a hallway or family room, then choose frames that fit your home’s style and hang them using a level and hammer or picture strips.
Start from the center of your arrangement and work outward, keeping the spacing consistent between frames. You can follow a grid for structure or arrange them asymmetrically for a more collected look.
What are some creative ideas for taking family pictures?
Include individual enlarged prints of each family member alongside a full family portrait to build out your display with variety.
I print both the posed group shots and the ones where someone is mid-laugh or reaching for something, and I use a lab that prints on real photo paper so faces stay crisp.
You can also chronicle milestones over time, starting with a few frames and adding to the wall as your family grows.