
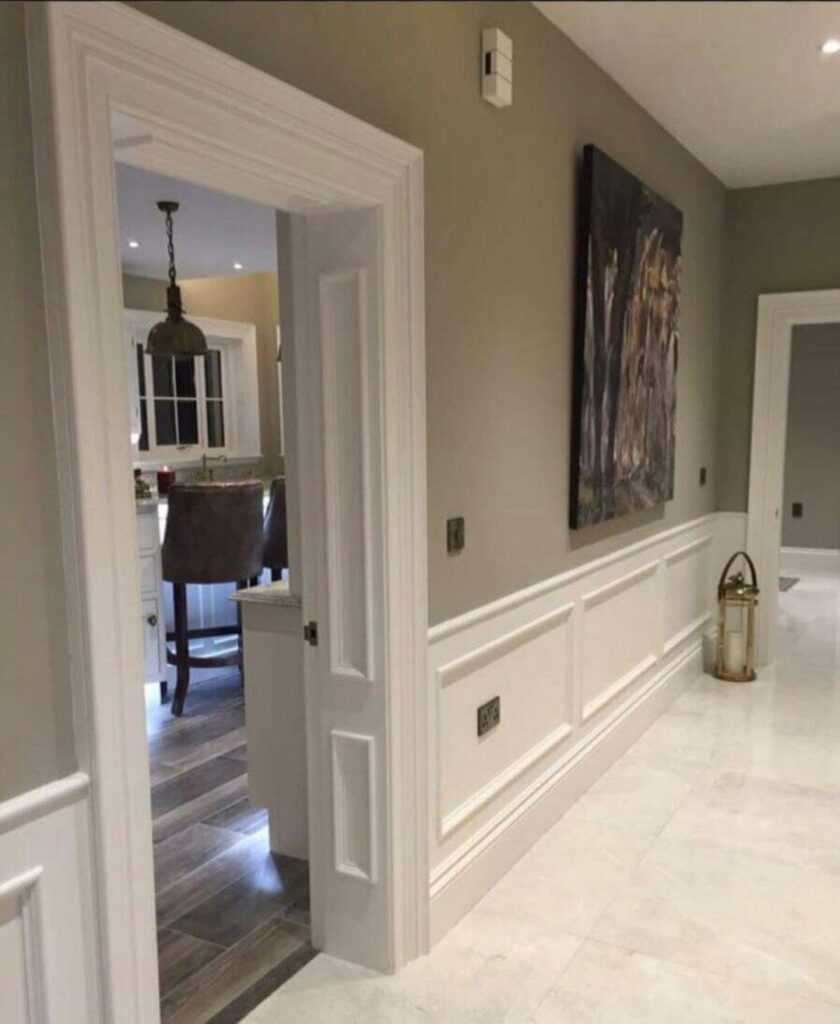
Door trim runs from minimal flush casing that barely registers on the wall to multi-layered profiles stacked for depth and shadow.
The right choice depends on your room’s existing molding: if you have crown or detailed baseboards, your door trim needs to match the profile and width so the whole space reads as one system.
Butted joints skip mitered corners entirely and meet at square cuts, faster to install and more forgiving when walls aren’t plumb.
1. Minimal Door Trim
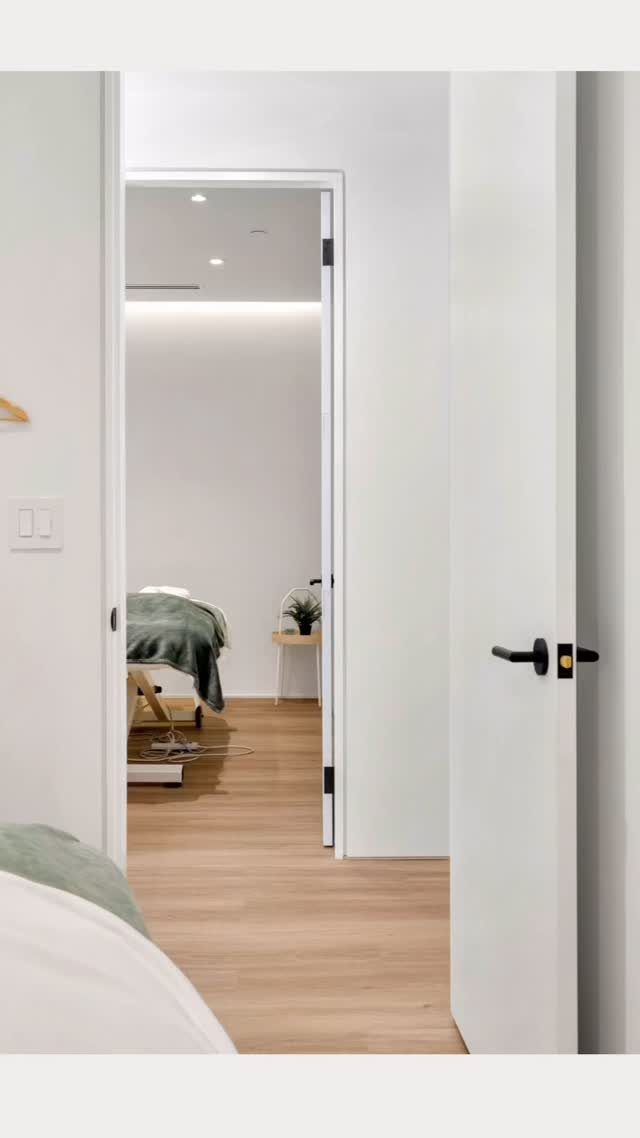
Minimal door trim keeps the frame flush or nearly flush with the wall, often just a thin strip of casing around the opening. It suits spaces where you want the door to recede rather than command attention.
The cleanest versions use a simple square-edge profile in the same finish as the walls, so the door reads as an opening more than an object.
That works well in contemporary interiors and small rooms where heavy molding can feel busy.
If your walls are drywall, you can run a thin piece of flat stock or skip the casing entirely and use a metal edge bead for a true flush look.
2. Craftsman Door Trim
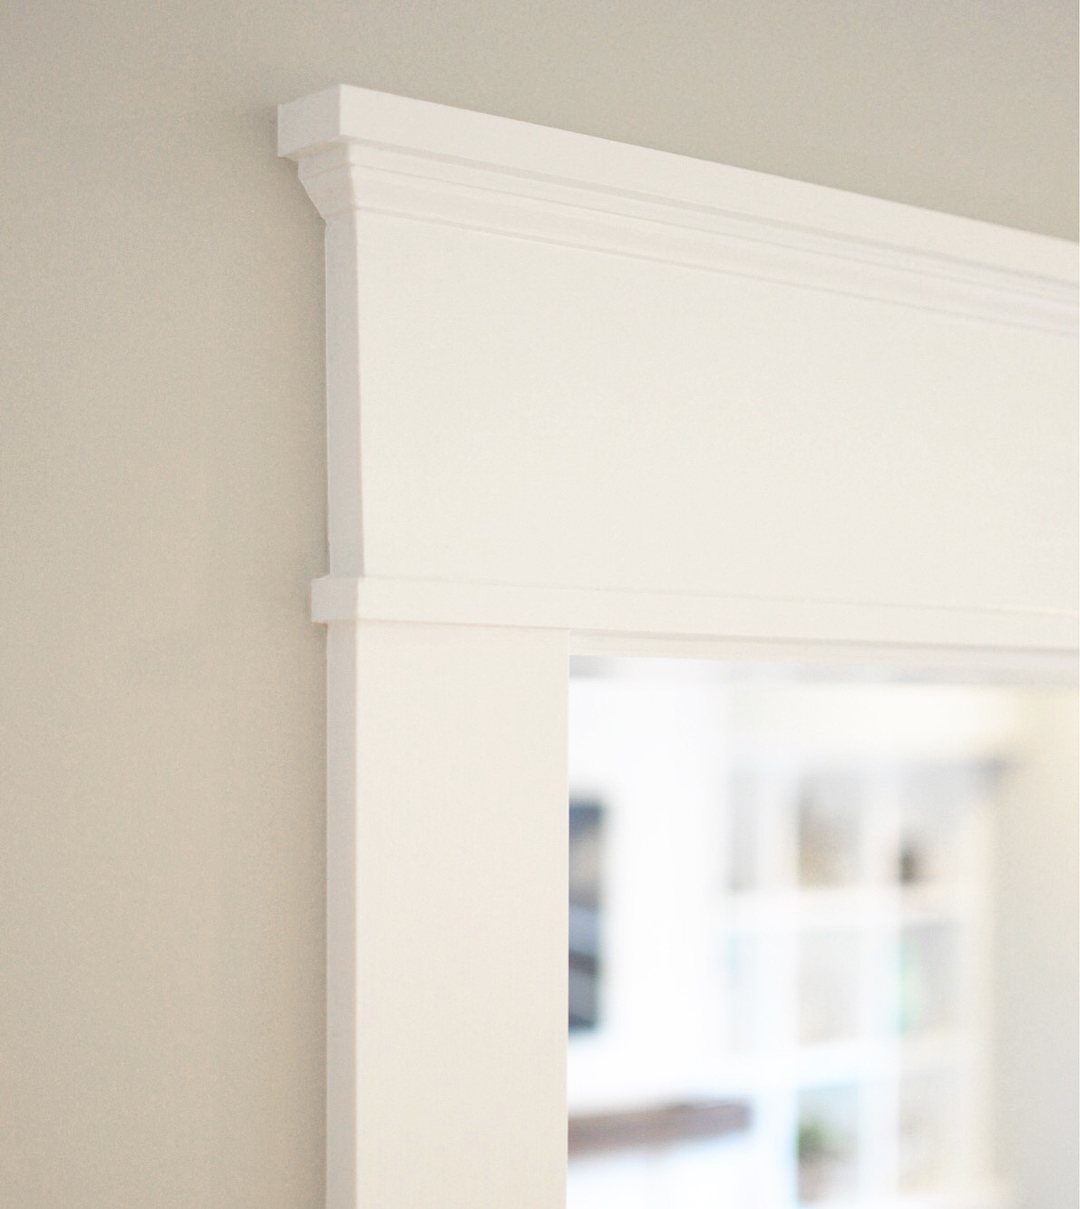
Craftsman trim layers a wide, flat header above the door with a thinner vertical casing on each side, often topped with a small crown or cap molding.
The proportions are what make it: the header should be noticeably wider than the side pieces.
The style originated in Arts and Crafts homes, but it adapts well to any space where you want defined, handcrafted character without ornament.
Paint-grade MDF or poplar keeps the cost reasonable, and the flat profiles are easy to cut and join with a miter saw and finish nailer.
Most lumberyards stock the right widths in standard casing profiles, so you can assemble the look without custom milling.
3. Colonial Door Trim
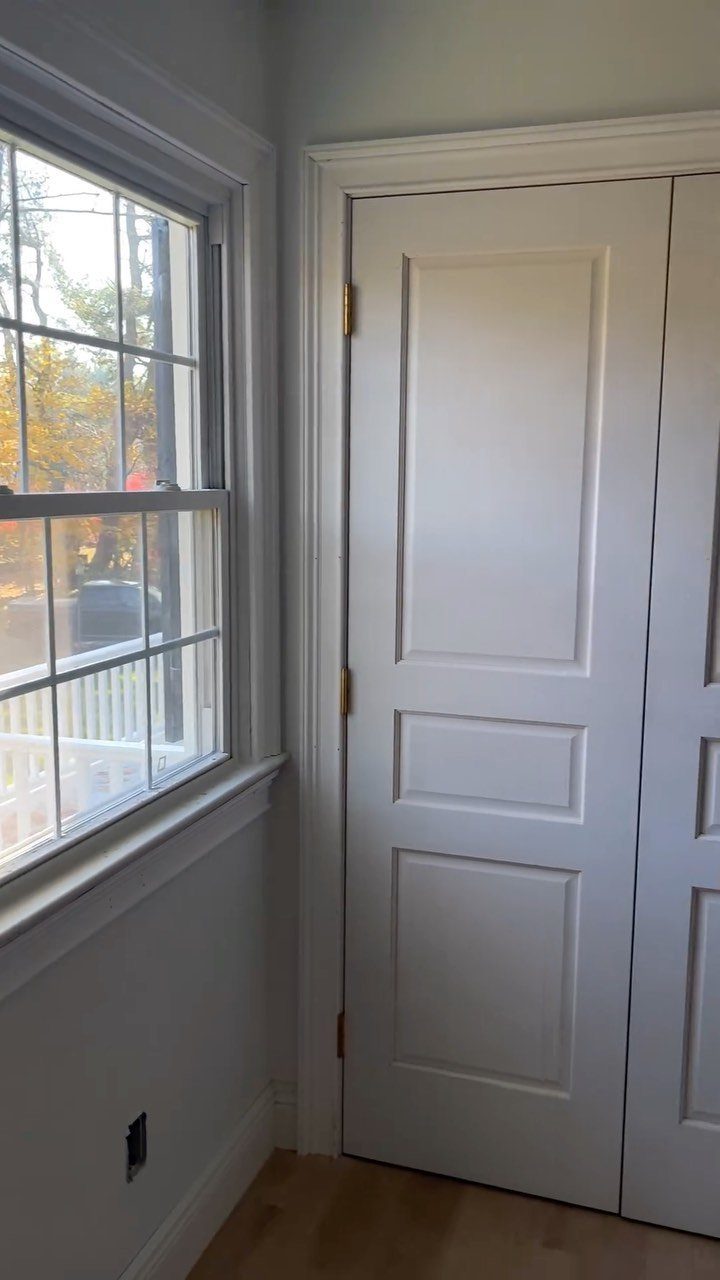
Colonial trim uses stepped or built-up molding profiles with multiple reveals, giving the casing a layered, formal look. The traditional version combines a flat backband with a shaped inner molding, creating depth and shadow lines around the door.
It fits homes with period details or any interior where you want doors to feel dressed rather than plain. The proportions tend to be narrower than Craftsman trim, with the profile doing more of the work than the width.
You can buy preassembled colonial casing or build it yourself by stacking a chair rail or backband over flat stock. Painting hides the seams and gives you the crispest lines.
4. Butted Door Trim
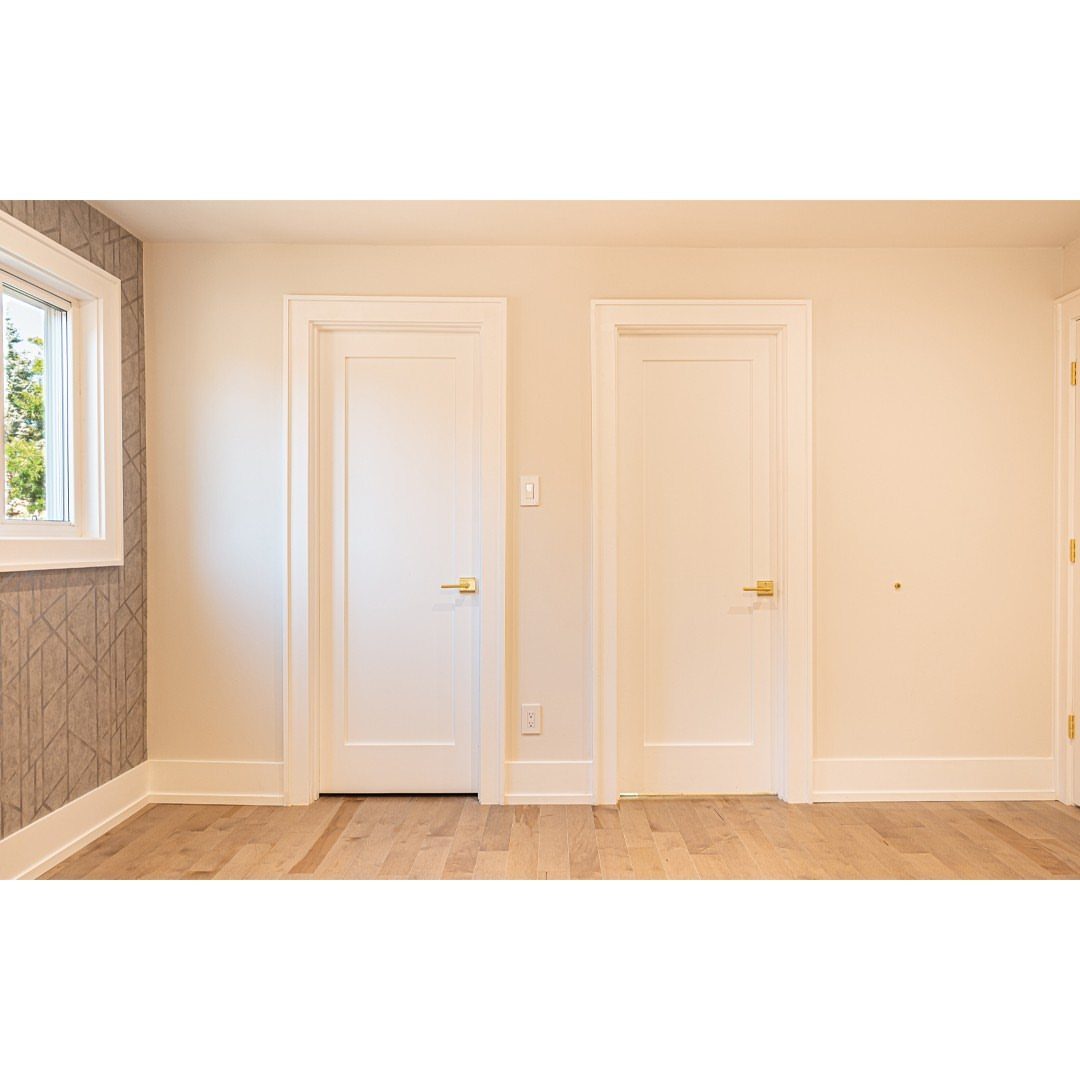
Butted trim skips the mitered corners and runs the side casings straight into the bottom of the header, meeting at a square joint.
It’s faster to install than mitered trim because you only need square cuts, and the joints are more forgiving if your walls aren’t perfectly plumb.
The style reads as intentional and slightly informal, fitting well in modern farmhouse or transitional spaces.
Use flat or slightly profiled casing in the same width for all 3 pieces so the butted joints look deliberate rather than like a mistake.
A tight fit matters here. Any gap at the joint shows immediately, so cut carefully and use a block plane or sandpaper to fine-tune the fit before nailing.
5. Farmhouse Door Trim
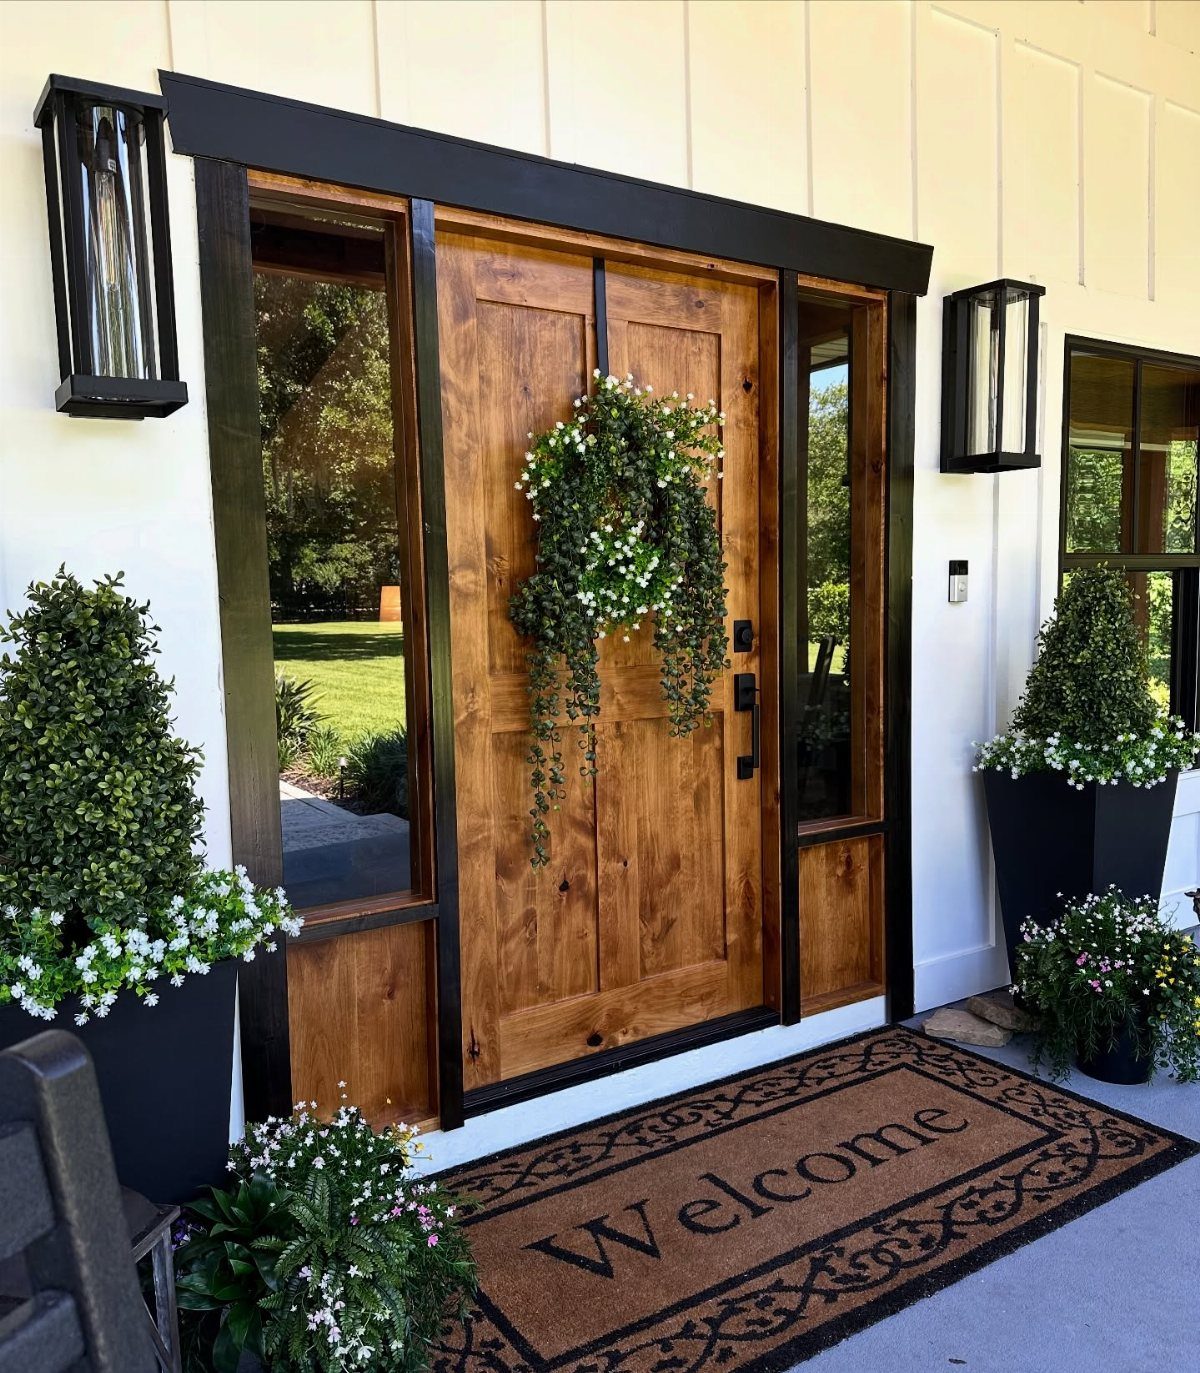
Farmhouse trim tends toward wider, flatter profiles with minimal ornament, often painted in a contrasting color to the door itself.
Black or dark trim against a natural wood door gives the strongest definition, and it highlights the architecture rather than blending into the walls.
The look works especially well on exterior doors, where the contrast holds up in changing light and makes the entry feel grounded. Use flat casing and paint it in a satin or semigloss finish that can handle weather and cleaning.
If you’re adding sidelights, run the same trim around the glass panels and tie them together with a continuous header across the top.
6. Modern Door Casing
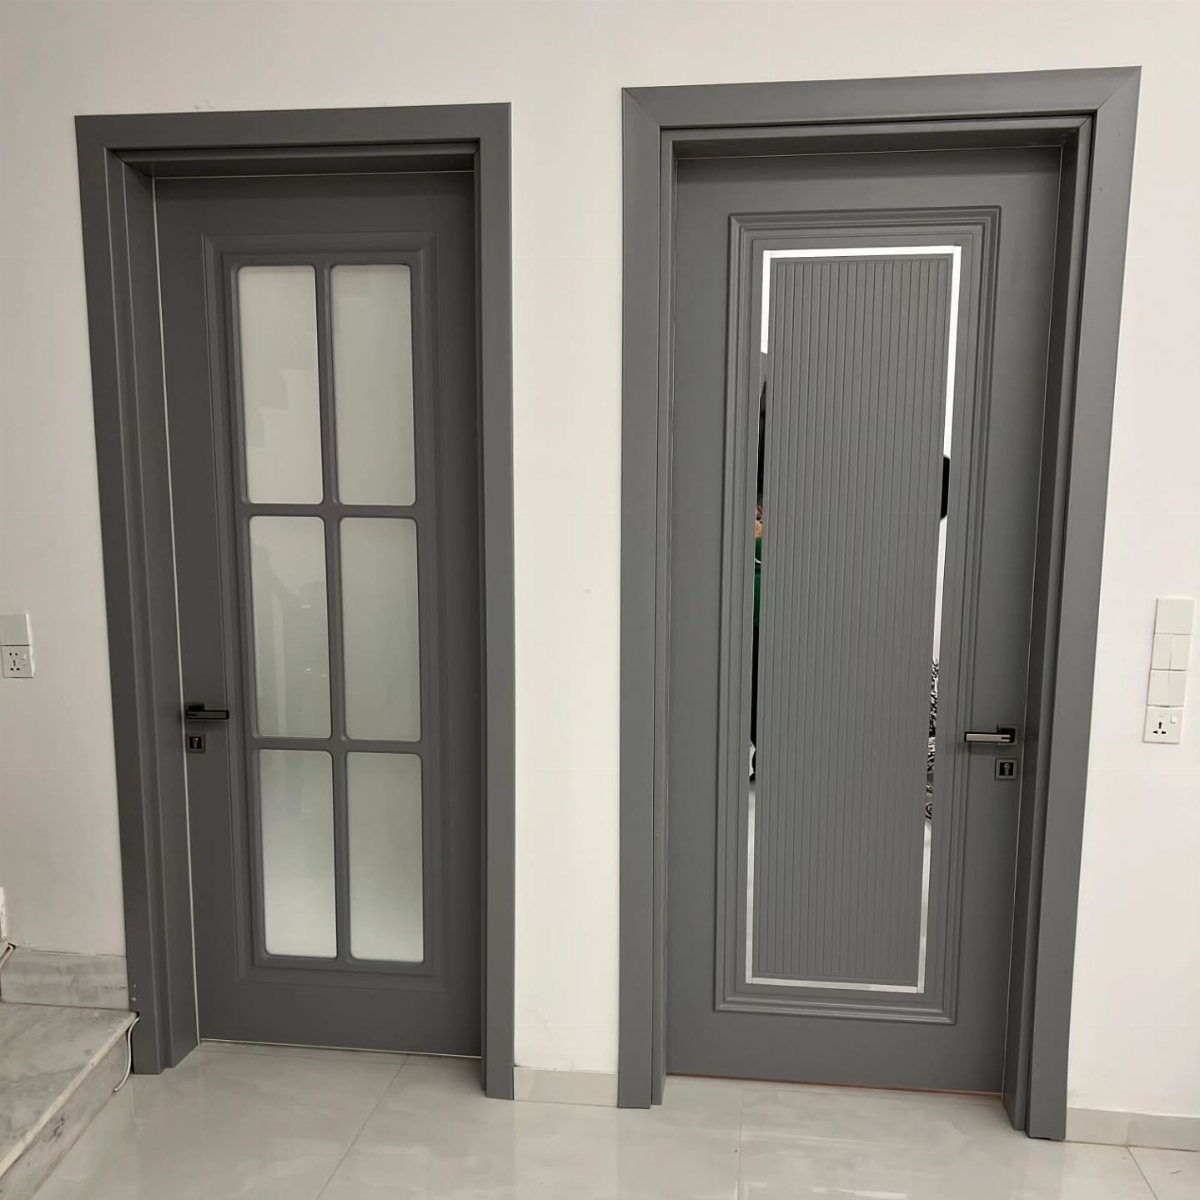
Modern casing skips traditional profiles in favor of flat, square-edge trim with clean corners and minimal projection from the wall.
The material and finish do most of the work: smooth paint, raw wood, or even metal edging depending on the space.
Grey or other neutrals soften the look compared to stark white, and they let you match the casing to the door itself for a monochrome effect.
The casing width can stay narrow since there’s no profile to fill the visual space.
For frosted or ribbed glass panels, keep the trim simple so the texture in the glass stays the focus.
7. Chunky Door Trims
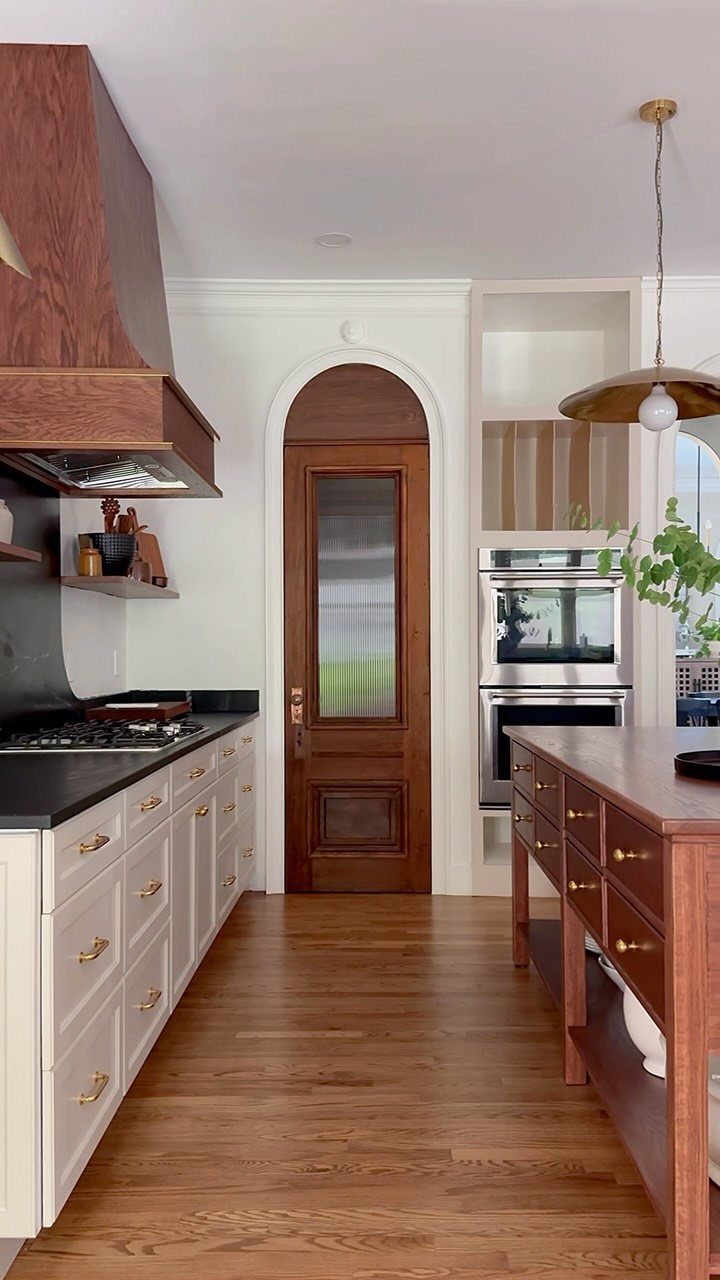
Chunky trim uses casing that’s noticeably thicker and wider than standard stock, with a flat or slightly rounded face that adds real depth to the frame.
The extra mass makes the door feel substantial and grounds it in the room, especially around tall openings or arched tops.
It pairs well with contemporary and transitional interiors where you want some architectural presence without ornament. Paint the trim white or match it to your walls to keep the look clean.
You can build it by layering standard trim or buy thicker casing stock if your lumberyard carries it.
8. Wallpaper Border Trim
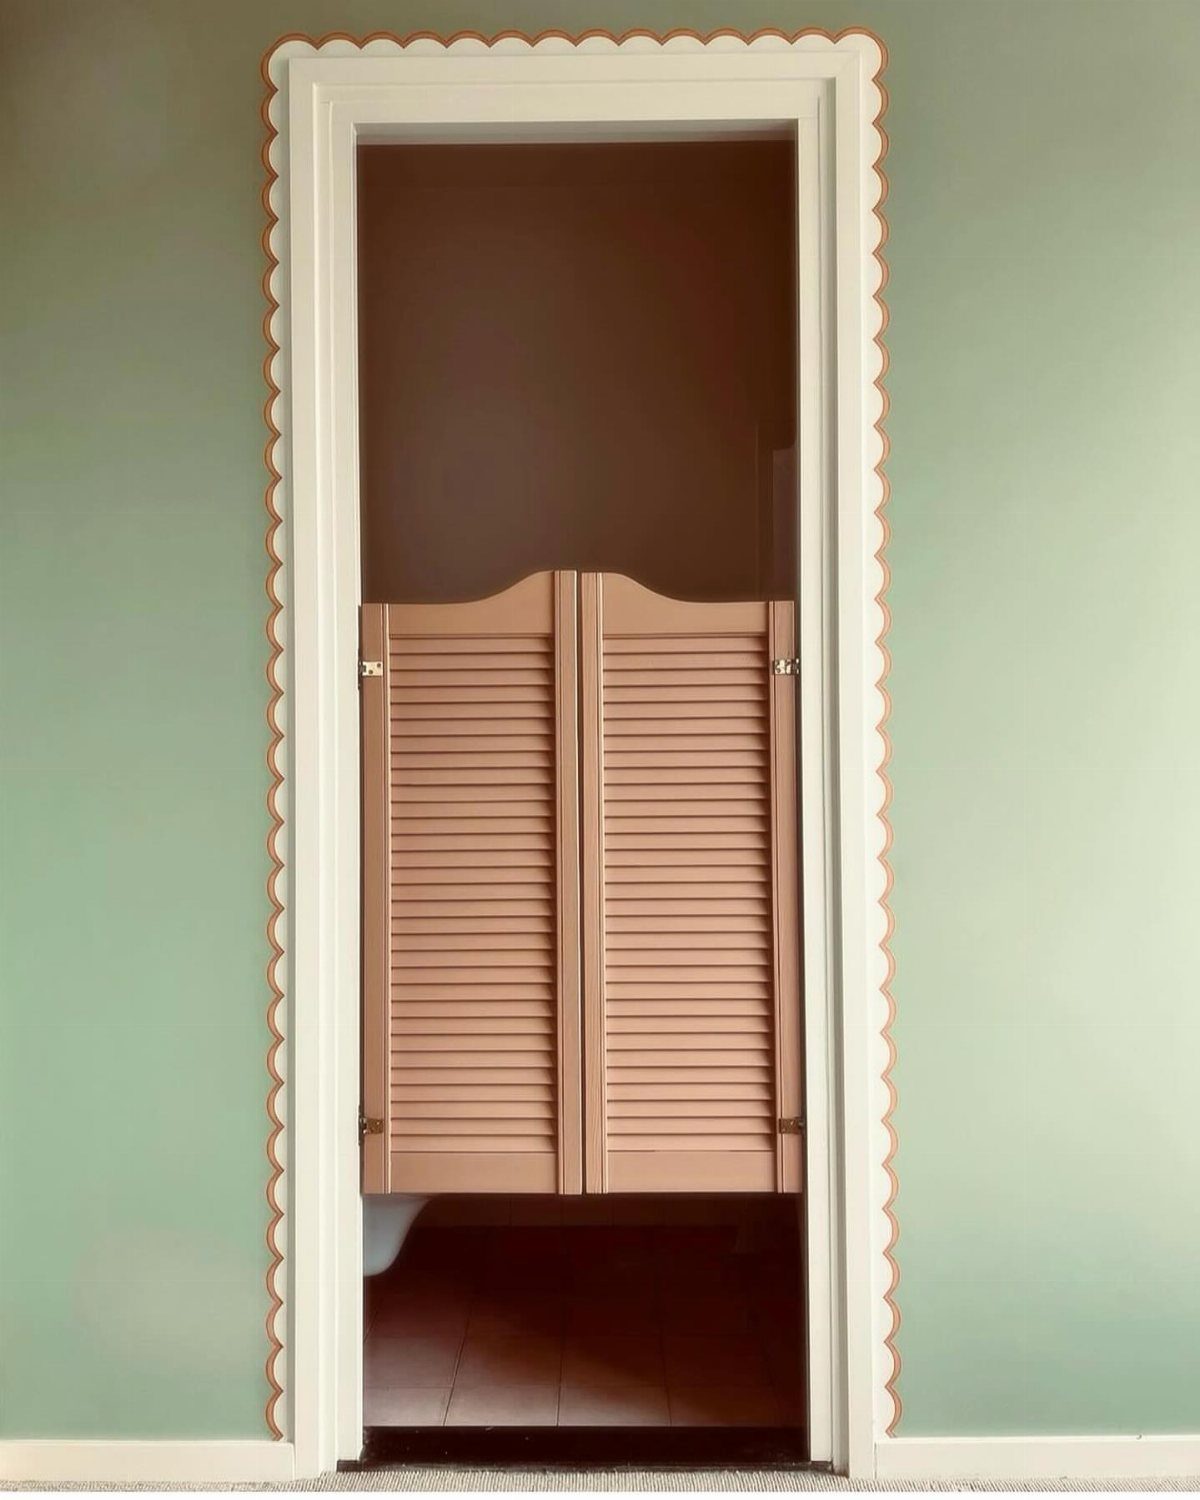
Wallpaper border trim uses a strip of decorative paper instead of wood or paint to frame the door, running along the inside or outside edge of the casing.
It adds pattern and texture without the cost or commitment of wallpapering an entire room.
Prepasted borders are the easiest to install, and you can cut them to fit with a utility knife and straightedge.
Seal the edges with wallpaper seam adhesive so they don’t lift over time.
9. Multi-Layered Casing
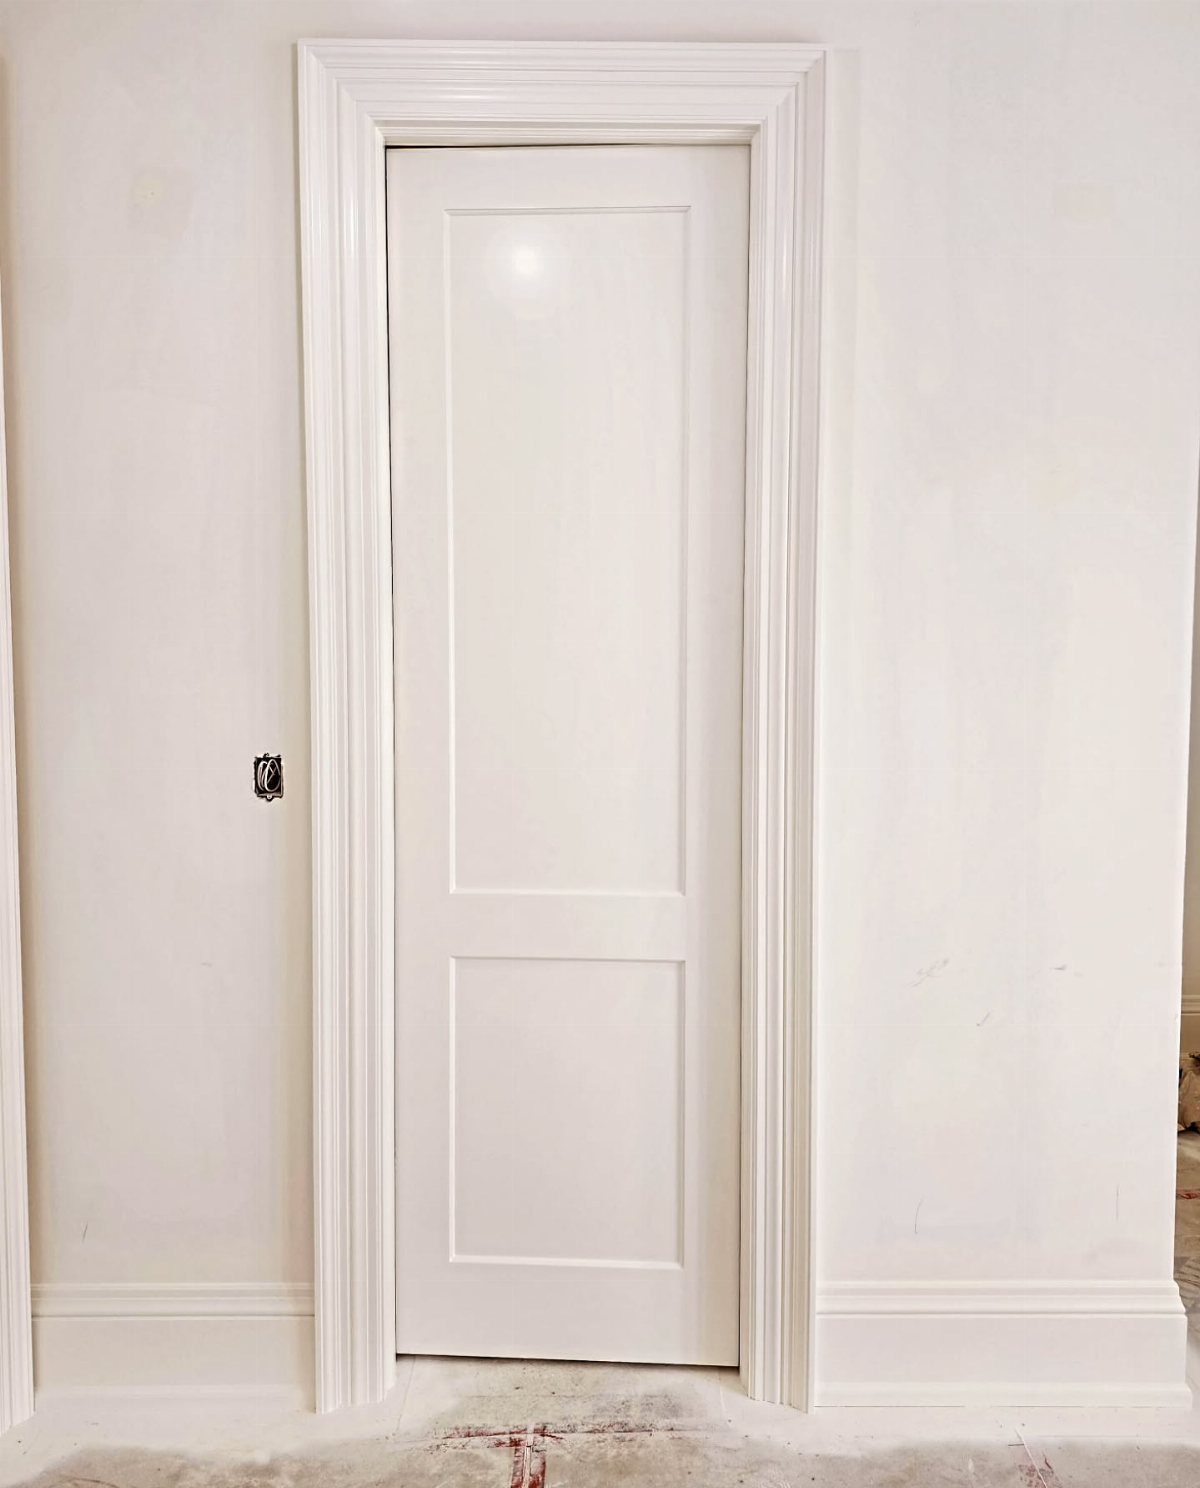
Multi-layered casing stacks two or more pieces of trim with different profiles or widths to create a stepped effect around the door. Each layer projects slightly from the one inside it, building depth and shadow lines.
The look suits traditional and formal interiors where you want doors to carry visual weight.
Start with a flat inner casing, then add a profiled backband or crown molding on top. Paint everything the same color so the profile reads clearly.
Nail each layer separately and caulk the seams before painting to hide the joints.
10. Monochrome Matching Door Trim
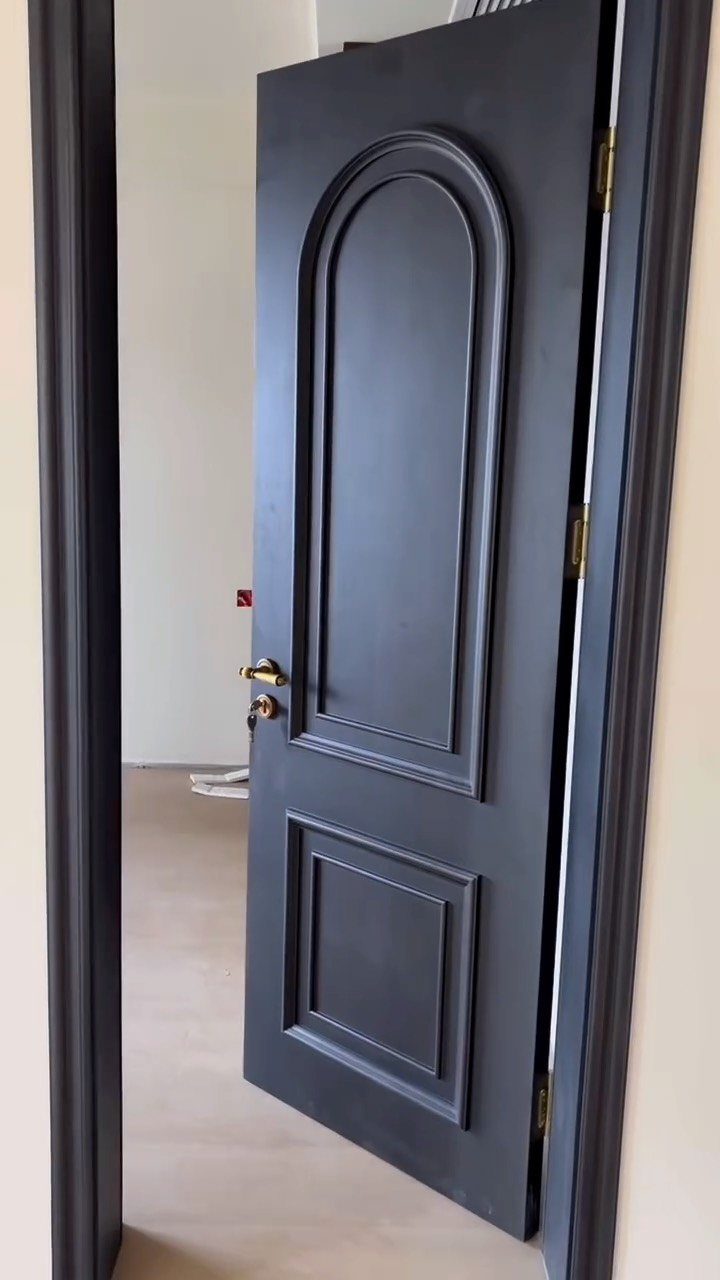
Monochrome trim matches the door and casing in the same color, erasing the visual break between them. It makes the door read as a single architectural element rather than separate parts.
Dark colors like charcoal or navy give the strongest effect and work well in spaces with light walls, where the contrast holds the door in place. Use the same sheen on both surfaces so they reflect light evenly.
If your door has raised panels or carved details, the matching color will emphasize the texture rather than flatten it.
11. Carved Wood Door Trim
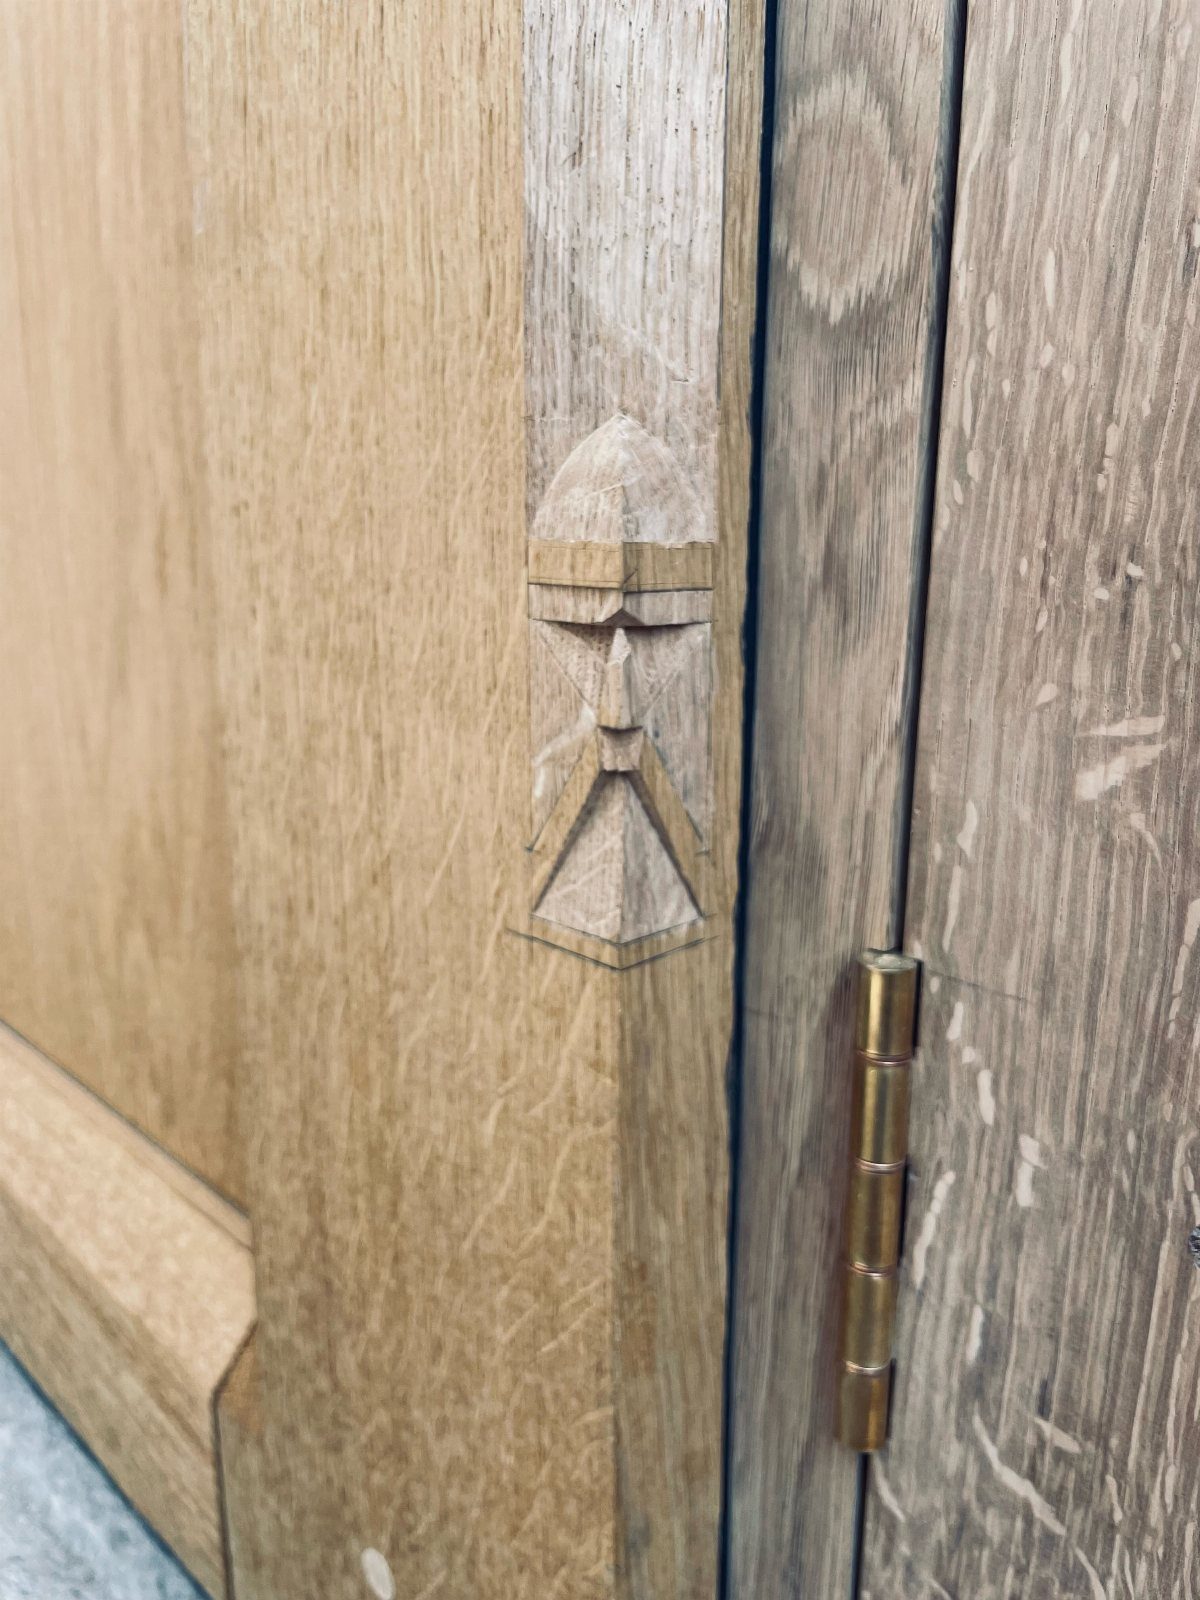
Carved trim adds a decorative relief or inlay at the corners or along the length of the casing, usually hand-carved or routered into solid wood.
The detail draws the eye and signals craftsmanship, fitting formal or period interiors where doors are meant to stand out.
Staining the wood rather than painting it shows the grain and the carved texture more clearly.
If you’re adding carved trim to an existing door, look for loose corner blocks or appliqués you can attach with wood glue and finish nails.
Keep the rest of the casing simple so the carved detail stays the focal point.
If you choose the right door trim idea, you can add character through this detail, without it overtaking the rest of the space.
Installation Tips
Measure the door frame width and height at 3 points on each side before you cut anything.
Frames shift over time, and a measurement that’s off by even an eighth of an inch shows up as a gap once the trim is nailed in place.
Start with the header piece. Start with the head casing across the top, get it level, and nail it down before you cut or fit the side pieces.
That gives you a reference line for the vertical casings and keeps the miters tight if you’re using them.
Fit the side pieces next, checking that each one sits flush against both the wall and the frame.
Gaps between the trim and the wall usually mean the wall isn’t plumb, so you’ll need to scribe and plane the back edge of the casing to match the surface.
Use finishing nails and sink them below the surface, then fill the holes with wood filler that matches your paint or stain. Sand smooth before you apply the finish.
Matching Styles
Door trim should match the profile and width of your window casings and any crown or baseboard molding already in the room.
The style of the trim also needs to fit the architecture. A ranch house with simple lines calls for flat or slightly eased casing, while a Victorian or Colonial interior can carry built-up profiles with backbands and reveals.
If you’re painting everything, you have more flexibility to mix profiles as long as the widths and proportions stay consistent. Stained trim is harder to blend, so stick with the same species and profile throughout.
Frequently Asked Questions
What is door frame trim?
Door frame trim is the molding that bridges the raw edge where your wall surface stops and the doorjamb starts.
It gives the opening a finished look and hides construction gaps that would otherwise show. The trim can be plain flat stock or built-up molding depending on the style of the room.
What can I trim a door with?
Solid wood like poplar or pine works well for staining or painting, while MDF is a cost-effective paint-grade option with smooth edges.
PVC trim holds up in damp areas like exterior doors or basements. You can also add decorative materials like carved wood appliqués or wallpaper borders over standard casing for texture.